When we moved into our current home nearly three years ago, it was as if time had stood still since the 1950s. I can confidently say that it hadn’t seen an update since its original construction! Bringing it into the 21st century required a complete overhaul, starting from scratch.
Unfortunately, not a single room escaped the need for updating. The kitchen, in particular, was in dire need of total renovation, with cupboards dating back over 70 years that were long overdue for removal.
Opting for a natural, rustic ambiance, we chose to install worktops made from natural wood. However, after three years, especially around the sink area, the worktops have dried out. This is a common occurrence, given the frequent exposure to water that tends to strip away the protective layer of oil.
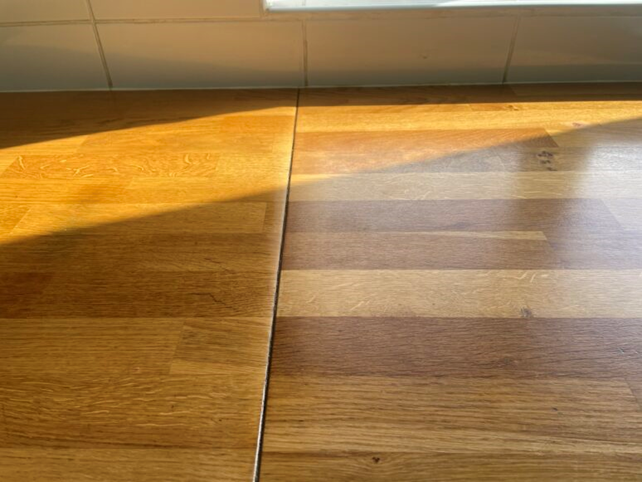
As seen in the picture below, the lustre and finish have begun to appear worn. The worktops are undoubtedly due for thorough oiling to prevent them from darkening and to shield the wood from warping. By regularly oiling wooden worktops, we can ensure they remain durable and vibrant, giving them a refreshed feel for years to come.
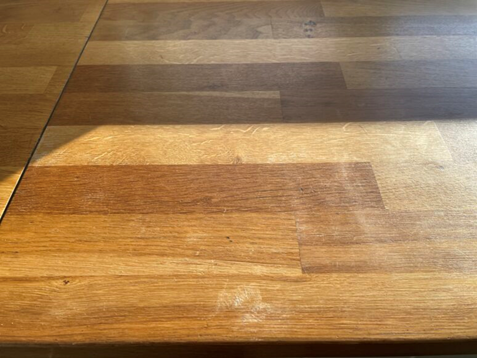
You can clearly see how the wood has started to dry out and needs a good oiling.
Tip 1:
Take the opportunity to repair any marks made from years of food preparation before you add your oil.
My Preferred Oil:
To oil kitchen wooden worktops, I use Rustins Original Danish Oil. It is particularly good for wooden worktops as it’s hard, durable and, most importantly, will create a water-resistant seal which penetrates the wood and doesn’t leave a surface film that can be chipped or scratched.
When buying my Rustins Original Danish Oil, I always choose a metal can. This is because metal packaging has excellent sustainability credentials, it is infinitely recyclable and has a high recycling rate; I like to know that I am doing my bit to reduce my waste. I also like how robust and secure the packaging is, so I know the product will be easy to use, to store away and that it will last a long time.
Now, let’s move on to my step-by-step tutorial!
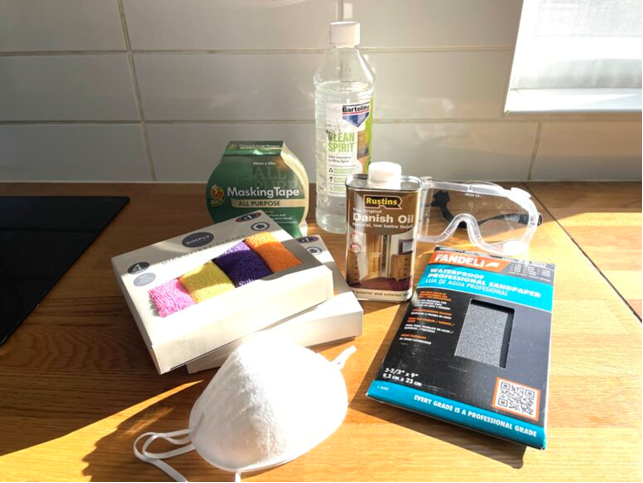
Products and tools required for renovating wooden kitchen worktops:
1. Tin of Rustins Original Danish Oil 250ml
2. Assorted professional sandpaper including grades 1500, 2000 and 2500 (different grades give you different levels of finish)
3. Selection of Lint free Microfibre cloths
4. Clean with White spirit
5. Masking tape
6. Safety goggles and face mask
Tip 2:
As I have mentioned in previous tutorials, the importance of the preparation stage cannot be emphasised enough. The reason it’s important is that it will give you a perfect finish. Therefore, I highly recommend that you take your time to prepare the surfaces. Don’t, under any circumstances, cut corners, as you will regret it and the finish will not be perfect.
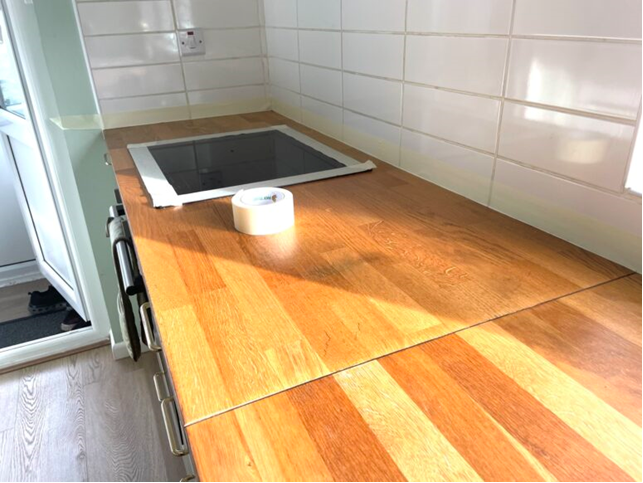
Step 1 – Masking up worktops
Wooden kitchen worktops are usually integrated with a sink, hob, taps and, quite often, the wall tiles are butted right up to the edge of the wooden worktop. In order not to get Danish oil on any of the fixtures or appliances, as this might be difficult to remove afterwards, use masking tape to mask up all of these fixtures or appliances before commencing any work.
Step 2 – Cleaning worktops
Once you have masked up the area which is going to be oiled, it is important to then clean the entire area with white / clean spirit. This will remove any contaminants such as wax, grease or dirt.
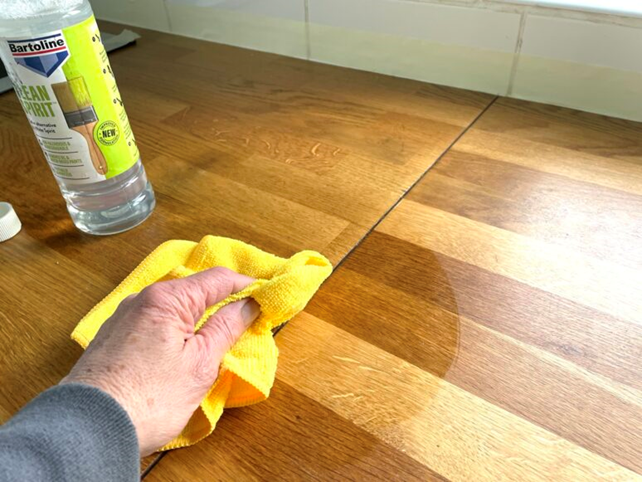
The reason it’s important to clean with white spirit is because Danish Oil won’t take to wax or grease, which means it will not protect the wooden worktops and create a water-resistant seal.
Tip 3:
When cleaning with white spirits or sanding anything wooden in a closed environment, always make sure you wear safety goggles and a face mask, so that you’re not breathing in any particles and your eyes are protected from the dust.
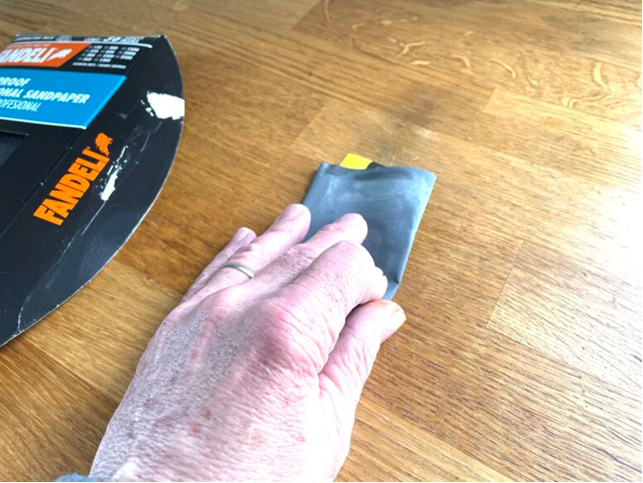
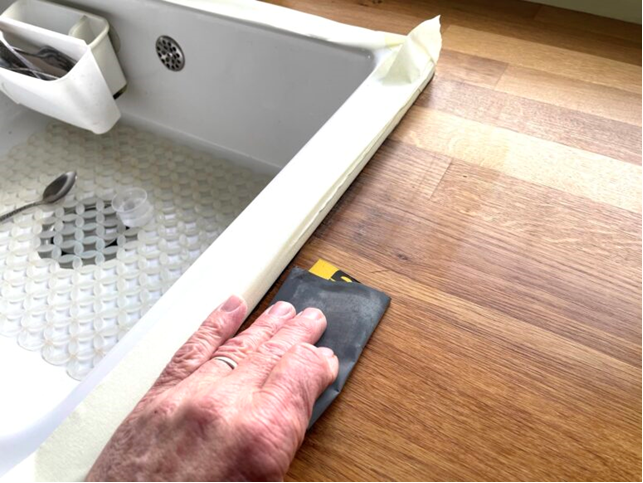
Step 3 – Sanding worktops
You are now ready to sand the wooden worktops and you must you use a grit (or grade) that is very fine. I suggest you start at 2000 grade and finish with a 2500 grade. This will give a perfect smooth finish for oiling and will not leave any scratches on your wooden worktops that will show up when you have oiled your wooden worktops.
Step 4 – Oiling worktops
You are now ready to use your Rustins Original Danish Oil to breathe new life into your kitchen wooden worktops!
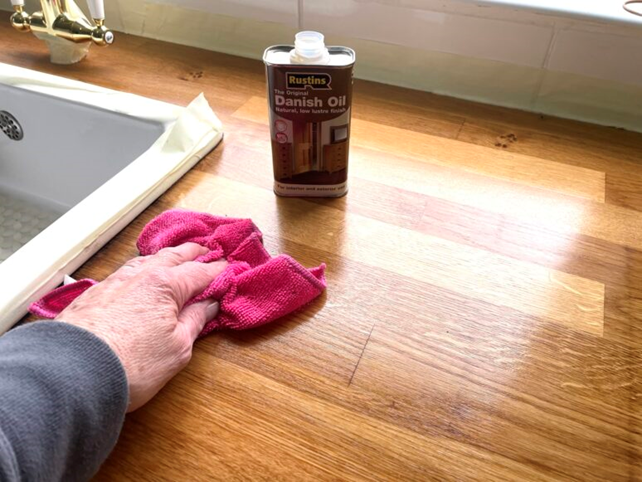
I recommend you use a microfibre, lint free cloth to apply your Danish Oil. You can, if you wish, use a brush. But the reason I use a microfibre lint free cloth is because you can work the Danish Oil in circular motions right into the wood, so the coverage is more effective.
When applying the Danish Oil try to follow the grain of the wood. After a few minutes, remove any excess oil with a clean cloth or paper towels. Then allow the wooden worktops to dry out and apply a final coat.
Tip 4:
Always allow 4-8 hours between coats as this will allow the previous coat to dry completely.
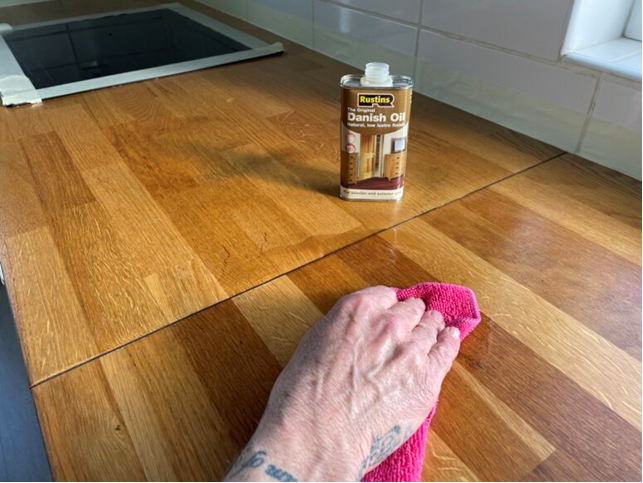
As you can see, the dried marks are now fully oiled and gone. Hooray!
That is my tutorial on how to renovate and refresh your wooden kitchen worktops using Rustins Original Danish Oil. I hope you find it useful. Thanks for reading!
Blog by Nigel Higgins – DIY Daddy
Check out how to Paint Kitchen Cabinet Doors Using Rust-Oleum Kitchen Cupboard Paint.


