Nigel Higgins – DIY Daddy
Can you paint a radiator in your home? As a painter and decorator, this is a question I have been asked numerous times. The simple answer is yes you can, but you must take certain steps to make sure you do it properly.
For starters you need to use the right paint because radiators heat and then cool so the paint you use must be heat resistant. Radiator paint is sold in two different ways. Either in a metal paint tin or as an aerosol paint, if you were thinking of spraying the radiator.
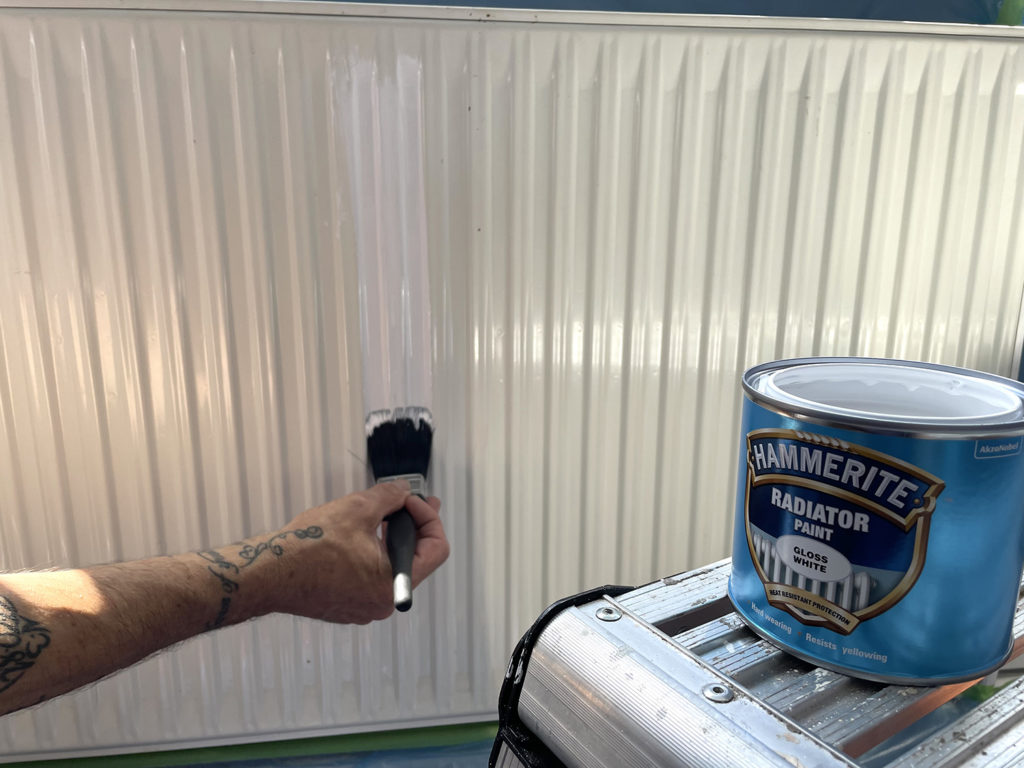
I would highly recommend that you paint your radiator using a brush and I use Hammerite Radiator paint which is specifically manufactured for painting radiators.
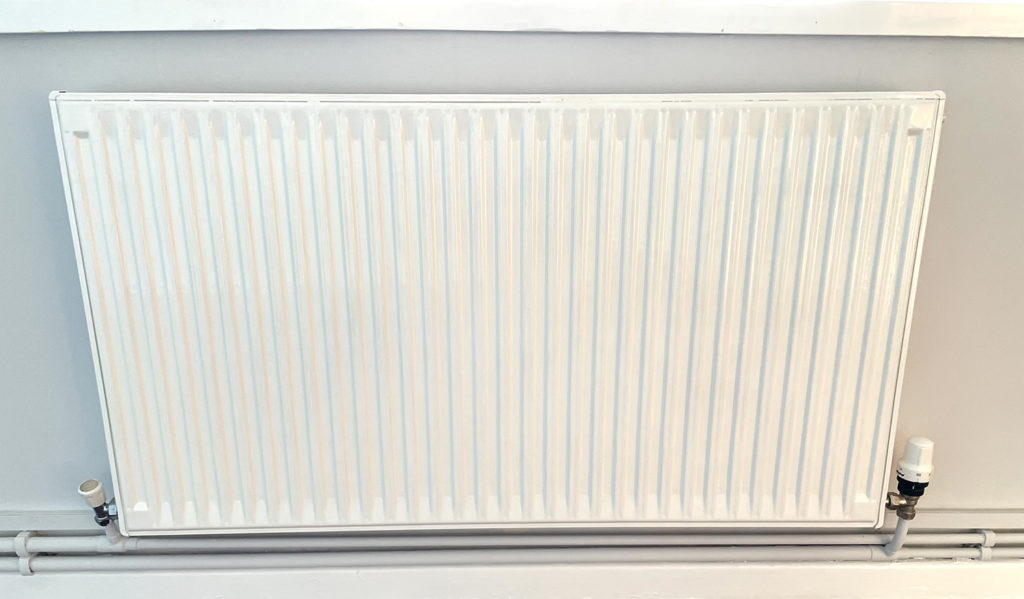
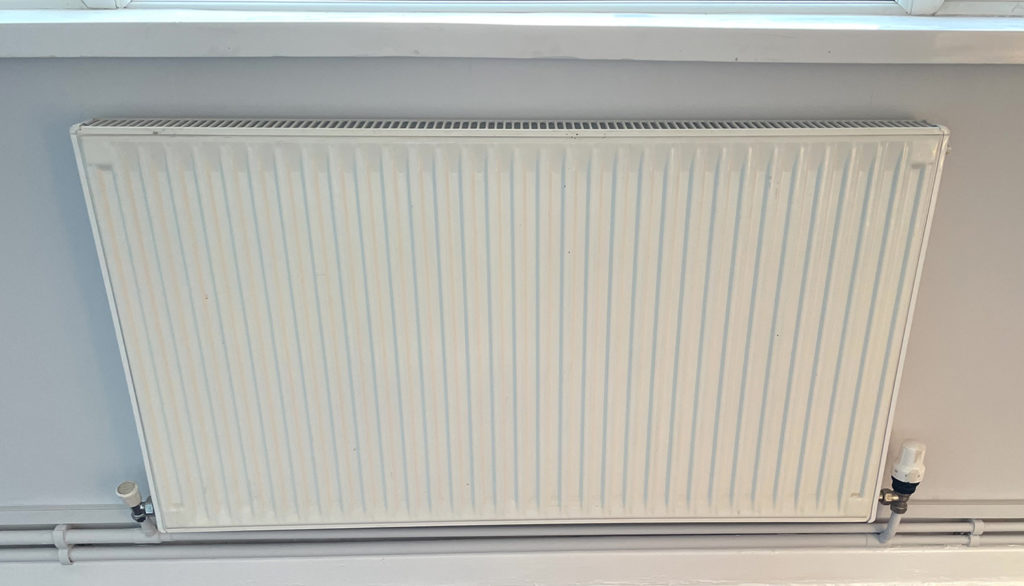
Why paint a radiator? Well, if it’s working completely ok and there are no cold spots or blockages then why not? It may be that the white colour has yellowed due to the heat, it may have got grubby over the years with people leaning on it or touching it with dirty hands, or it may have some rust spots appearing, so giving it a coat of paint will give the radiator a new lease of life and of course, be considerably less expensive than buying a new radiator.
Another thing to consider is whether you should remove the rad from the wall. This is personal choice, but if you don’t remove the radiator then you won’t be able to paint the back of the radiator, only the side that faces out in the room. On the other hand, for the hassle of removing the radiator, I always think it is perfectly ok to paint just the front and sides. After all, that is all anybody will ever see!
Another bonus of Hammerite Radiator paint is that it comes in metal packaging, which is both handy for storage plus when you’ve finished the paint, the empty tin can be recycled. Did you know that metal is infinitely recyclable which means it can be recycled again and again and again?
For this tutorial, you will need:
- Hammerite Radiator 1 litre paint tin
- Brushes
- White spirit or a proprietary brush cleaner to clean brushes
Let’s start the tutorial with a simple step by step guide:
Step 1
First of all, turn the heating off. You can do either by turning off the boiler or most radiators nowadays can be switched off individually. Wait until the radiator is completely cold before you begin otherwise the paint will either run or not dry to a perfect finish. This would also be a good time to open some windows and ventilate the room.
Step 2
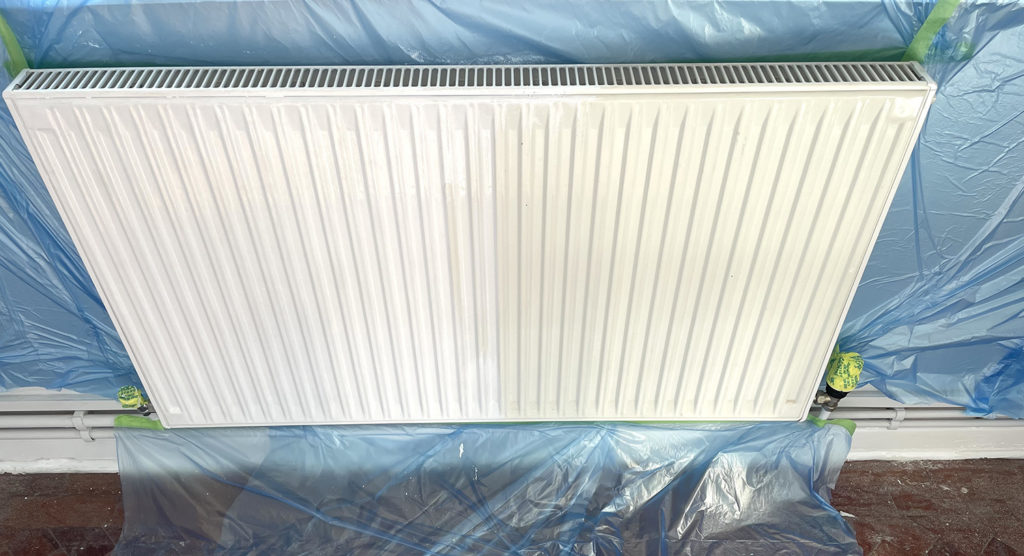
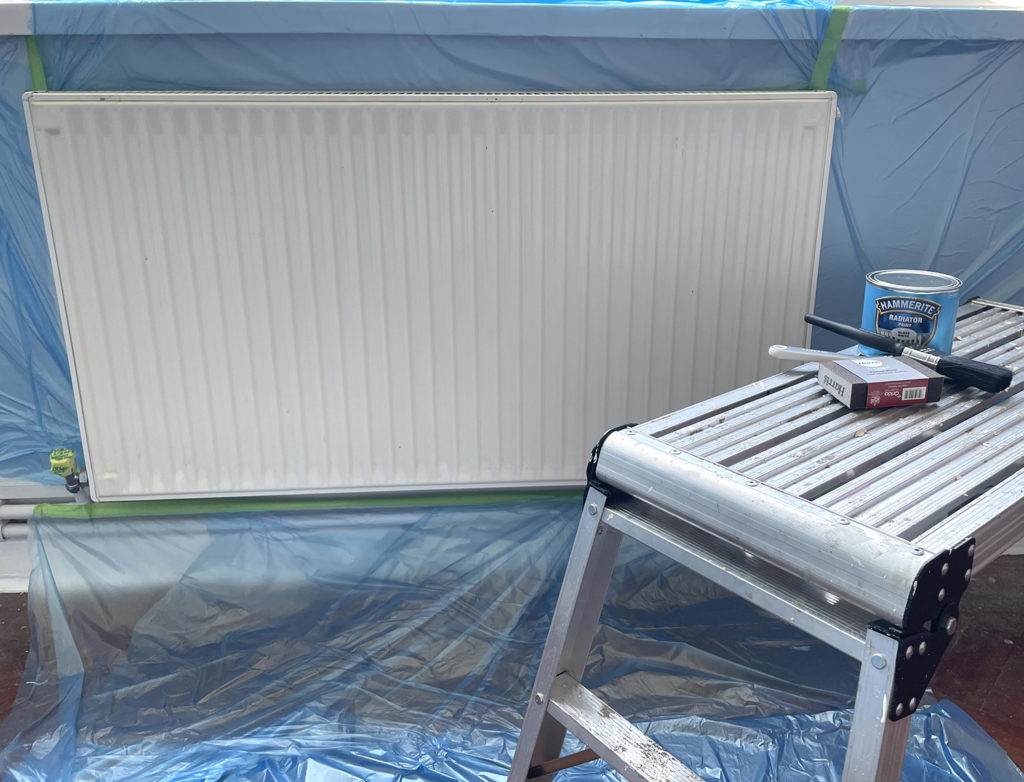
Clean up all around the radiator and make sure all dust or anything else that could stick to wet paint is removed. Put down dust sheets on the carpet and cover the walls to the side of the radiator with plastic dust sheets and mask up the control knobs.
Step 3
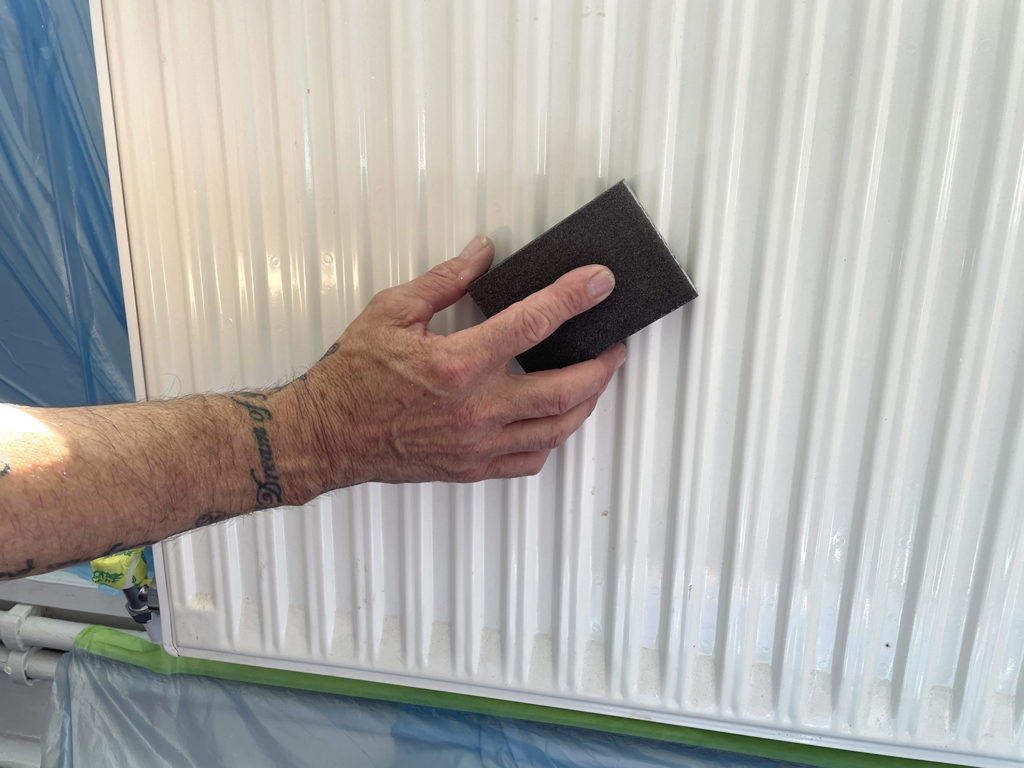
Now it’s time to clean the radiator. Sugar soap is very good to remove any grease but make sure you rinse it off thoroughly before applying paint. Then sand down the radiator to remove any rust or lumps of paint from previous painting. Make sure the radiator is completely free of any dust or particles before you start to paint, and it must be dry before you start – remember, radiator paint is solvent (oil based) so won’t mix with water.
Step 4
Now you can start with painting your radiator to make it look spectacular. This is really a simple process, but I will add a small caution. Take your time and don’t put too much paint on your paintbrush.
It is much better with the first coat to give a lighter coat, so you don’t end up with any drips or lumps in the paint. Paint in even strokes to avoid any visible lines once it’s painted, and paint from top to bottom, not from side to side or you will get runs where the paint collects on the grooves.
Remember it’s important to use a good quality paintbrush that is made particularly for radiator paint.
Step 5
Once you have allowed the correct amount of time for your first coat to dry completely, for Hammerite paint it recommends 6 hours, it’s time to give the radiator the second and topcoat of paint. When finished, I’d recommend that you leave the radiator off for 24 to 48 hours to allow the paint to harden and dry completely naturally.
So that is a simple step-by-step guide to painting a radiator that I’ve used many times in my career as a painter and decorator. If you attempt this step-by-step guide, we’d love to see your results – just use the hashtag #DoItWithCans on social media.