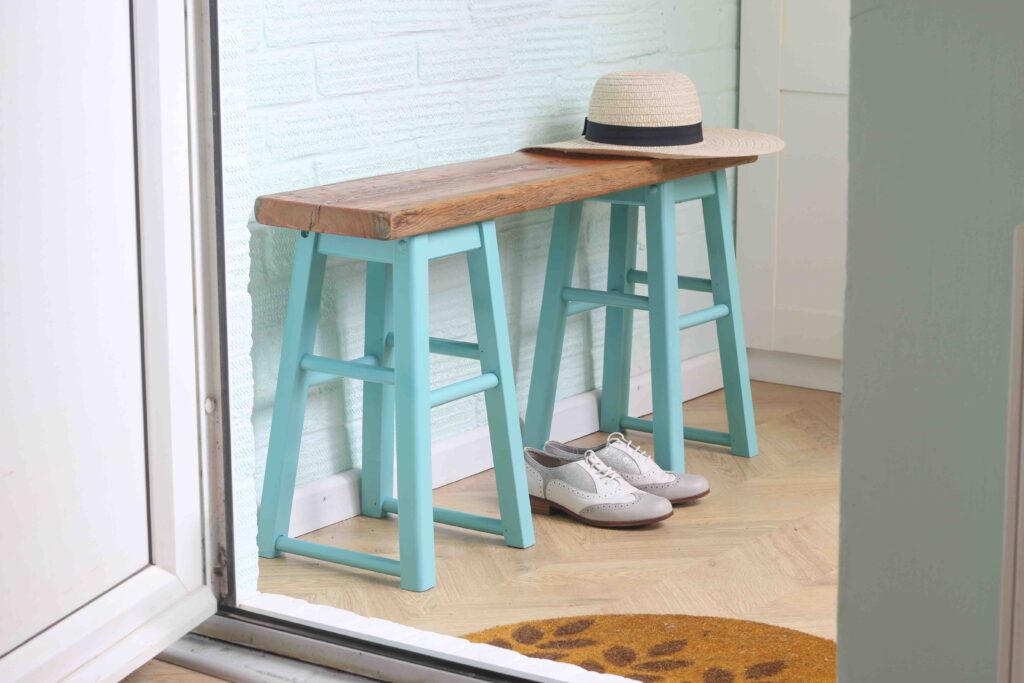
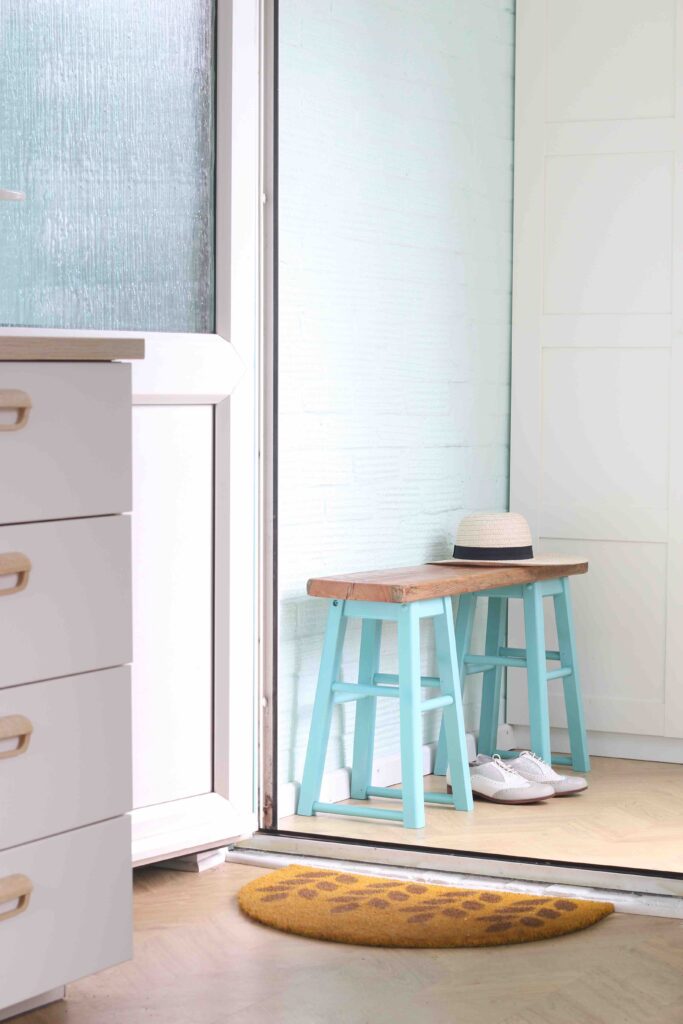
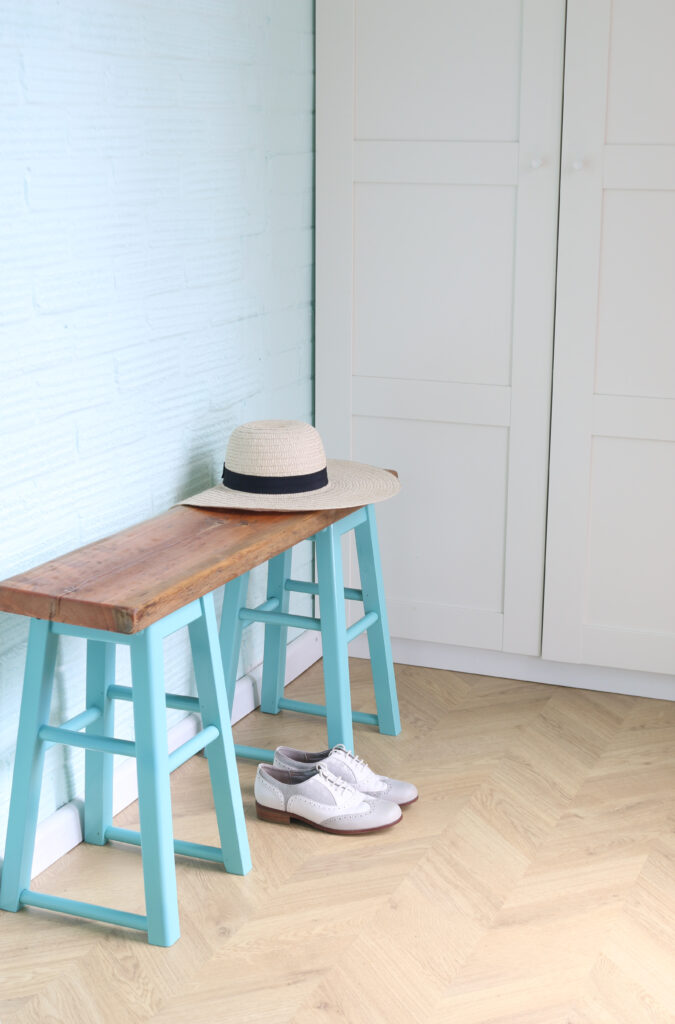
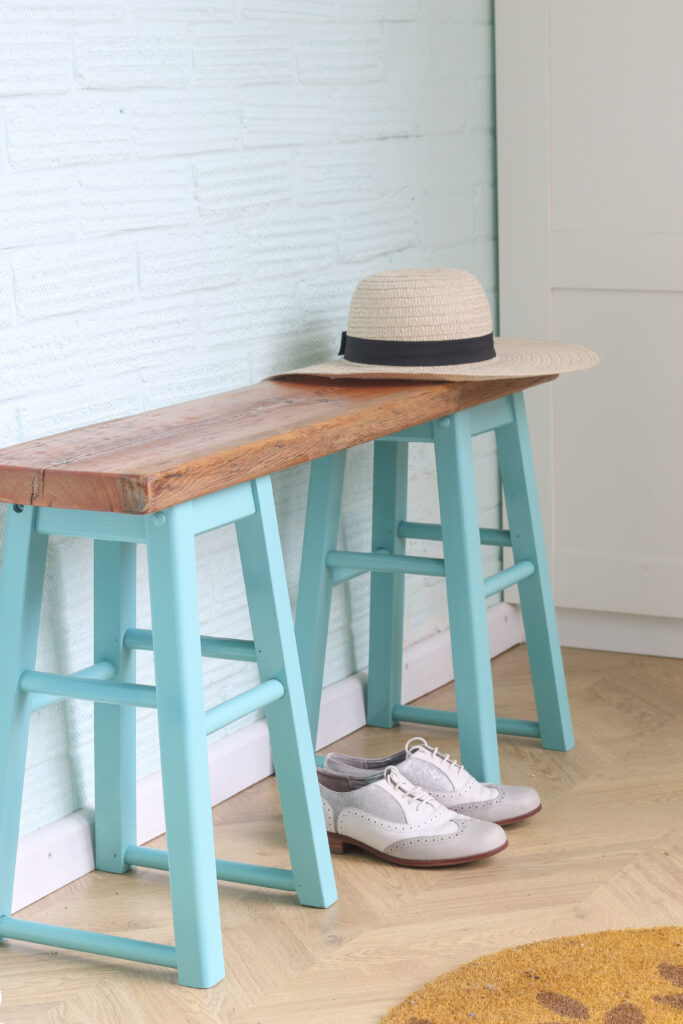
Creating a bench for your hallway or porch provides a handy space for your family and friends to sit while taking off their shoes. You can customise it with your choice of colours and can build it to a comfortable height for either adults or children.
With just a couple of tatty old kitchen stools and a piece of reclaimed scaffold board from a skip, we’ve crafted this useful entryway bench. The legs feature a fun pop of colour, while the top has a natural driftwood-style finish, which is protected against moisture and mud by a coat of clear varnish.
If you would like to have a go at making your own hallway bench, simply follow our step-by-step guide below.
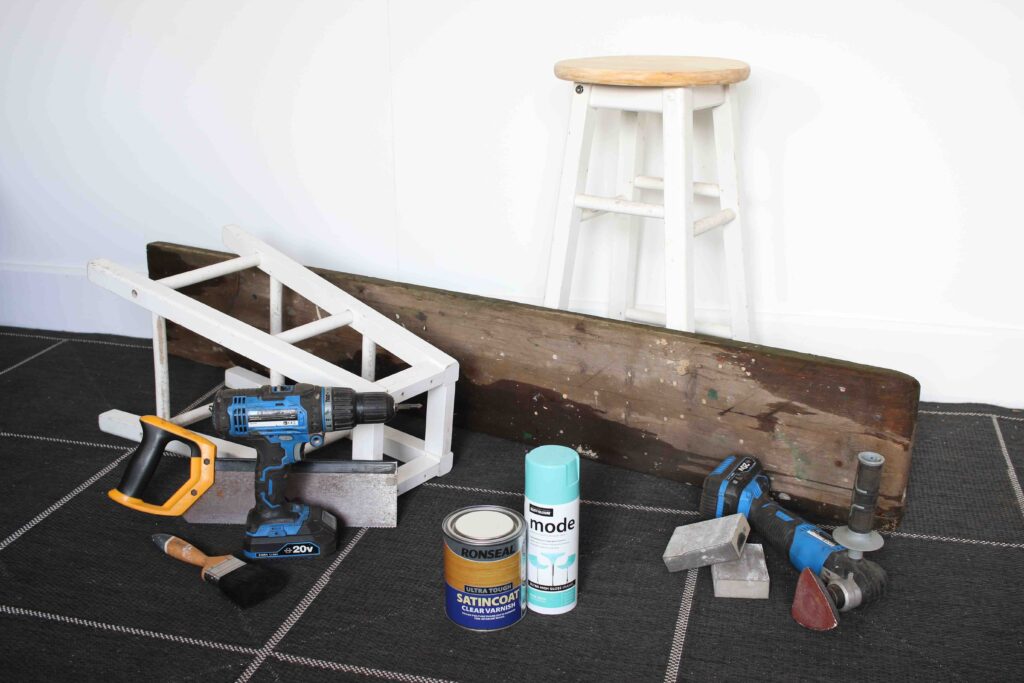
You will need:
- Old bar/kitchen stools
- A reclaimed piece of timber – we used an old scaffold board
- Screwdriver and wood screws
- Saw
- Sanding block, sandpaper and an electric sander
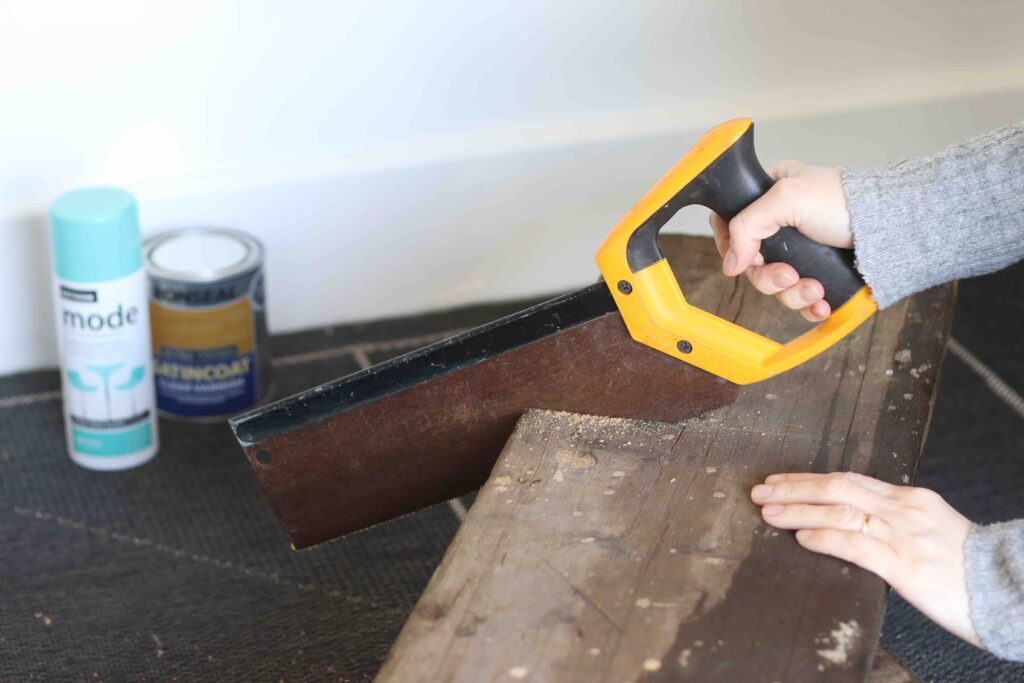
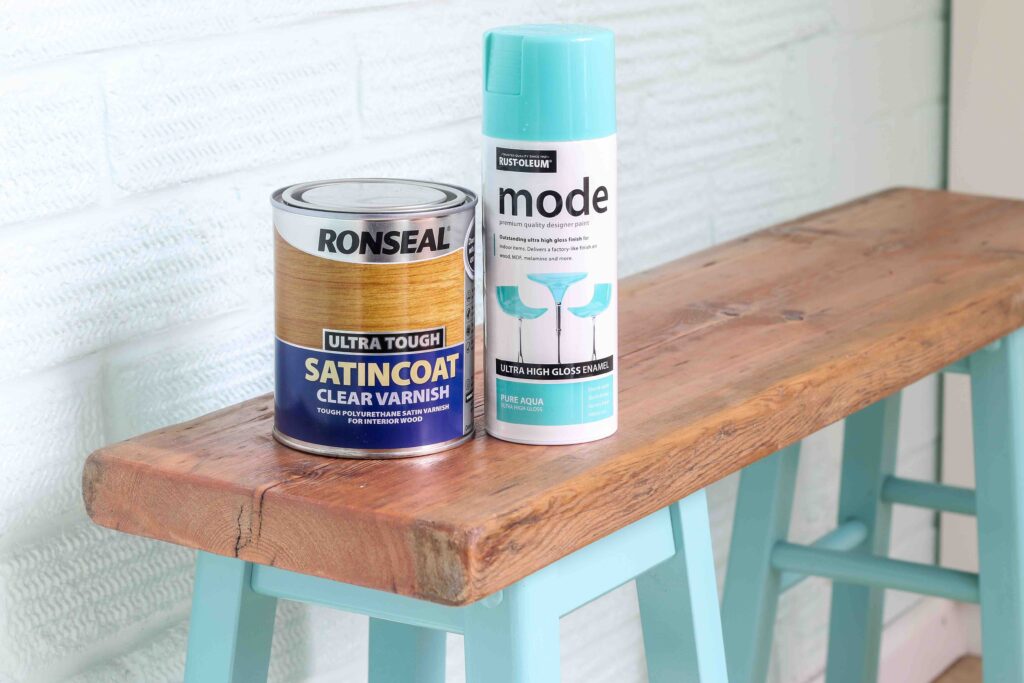
- Rust-Oleum Mode spray paint – we used Pure Aqua
- Ronseal Satincoat clear varnish
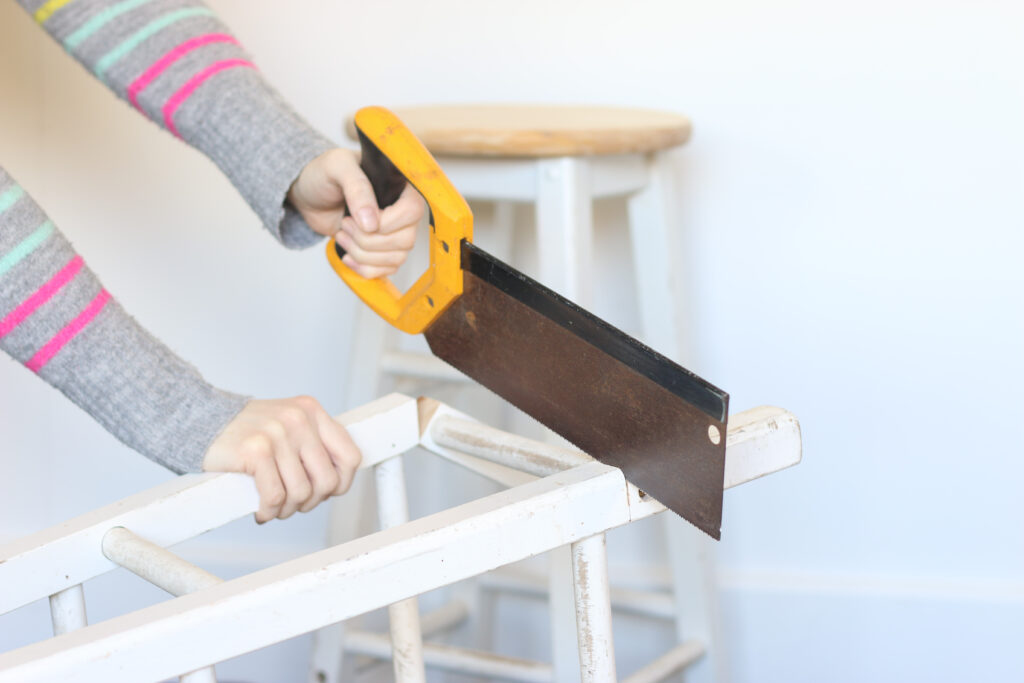
Step 1
Remove the tops of the tall kitchen stools and then use a hand saw to cut down each of the feet. This will reduce the stools to a ‘normal’ chair seat height – which could be around 40-50cm depending on your preference. If you want to make a bench that’s suitable for children, you could make the legs a little lower.
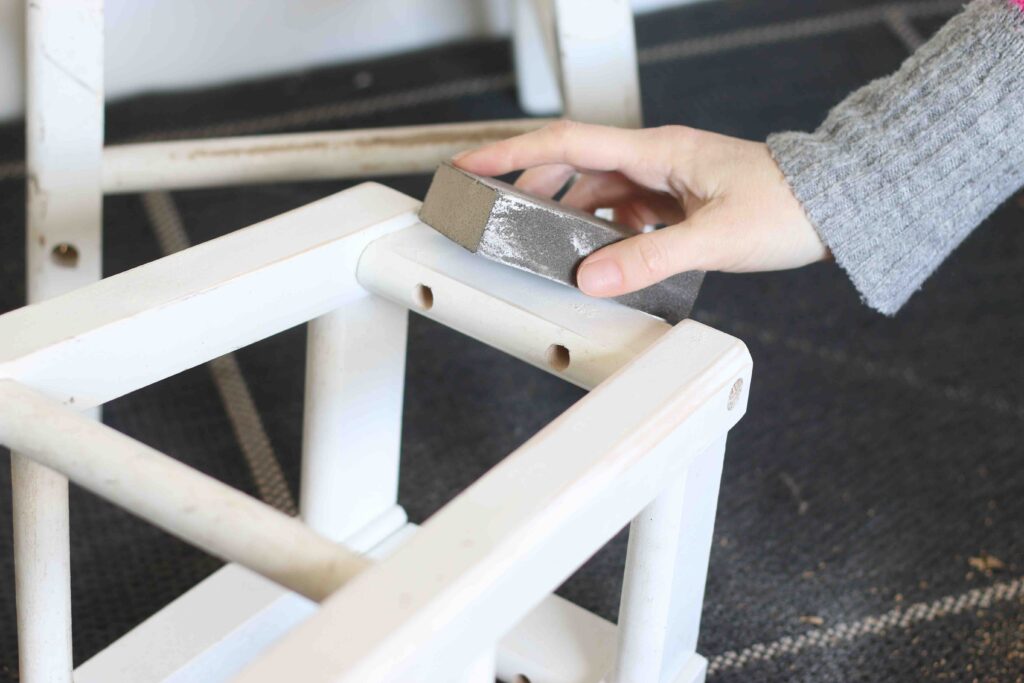
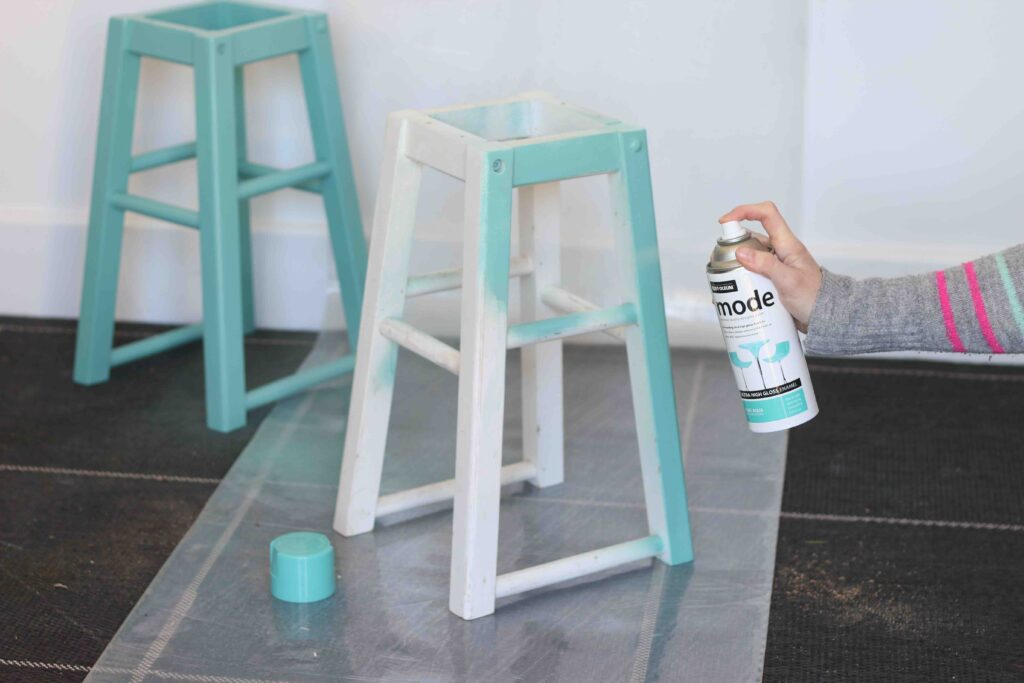
Step 2
Use a sanding block to lightly sand the legs of the stools to give them a ‘key’ for painting. Wipe away any dust and then give the legs a fine coat of spray paint.
It’s better to add multiple fine layers of spray paint than one thick coat as this will dry quicker and minimise the chance of drips.
We used Rust-Oluem Mode spray paint, which is suitable for using on indoor items made from wood, MDF, melamine, rigid plastics, metal and more. Alternatively, you could paint the legs with any colour furniture paint you like.
Step 3
While the paint on the legs is drying, you can get on with creating the bench top. Cut down the piece of reclaimed wood to the length that you want your finished bench to be. We used an old piece of scaffold board and cut it to a length of 90cm to fit the space available in the porch.
Step 4
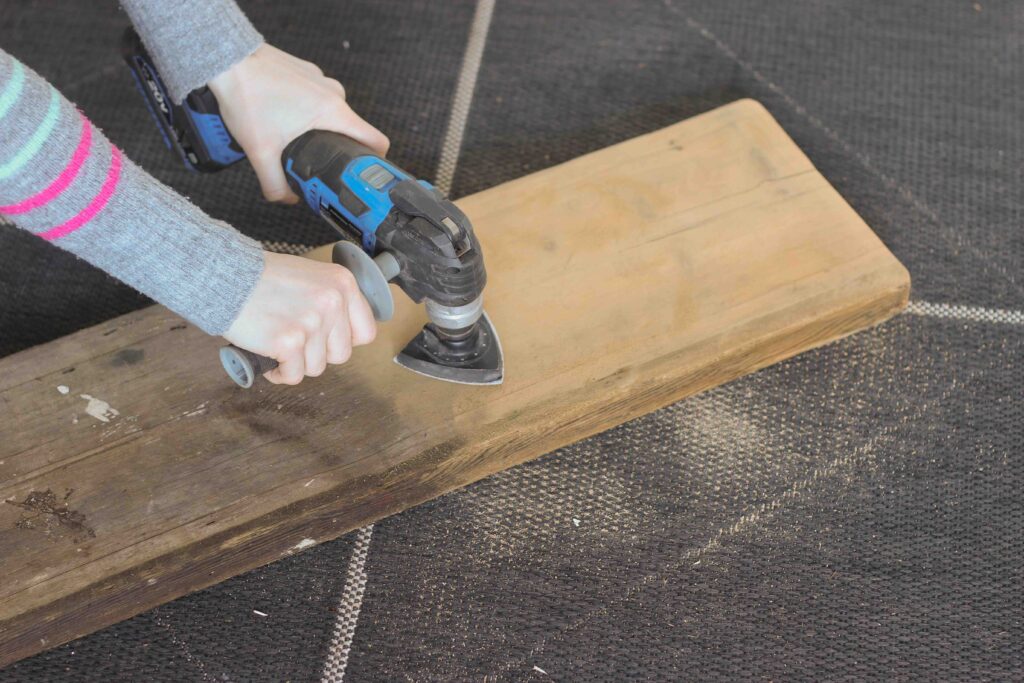
Use an electric sander to give the reclaimed wood a clean and smooth driftwood-like finish. If you don’t have an electric sander, you can use a sanding block but the process will take longer to complete. Keep sanding the surfaces of the timber and over the sides and corners until there are no splinters or rough patches left. Wipe away any dust.
Step 5
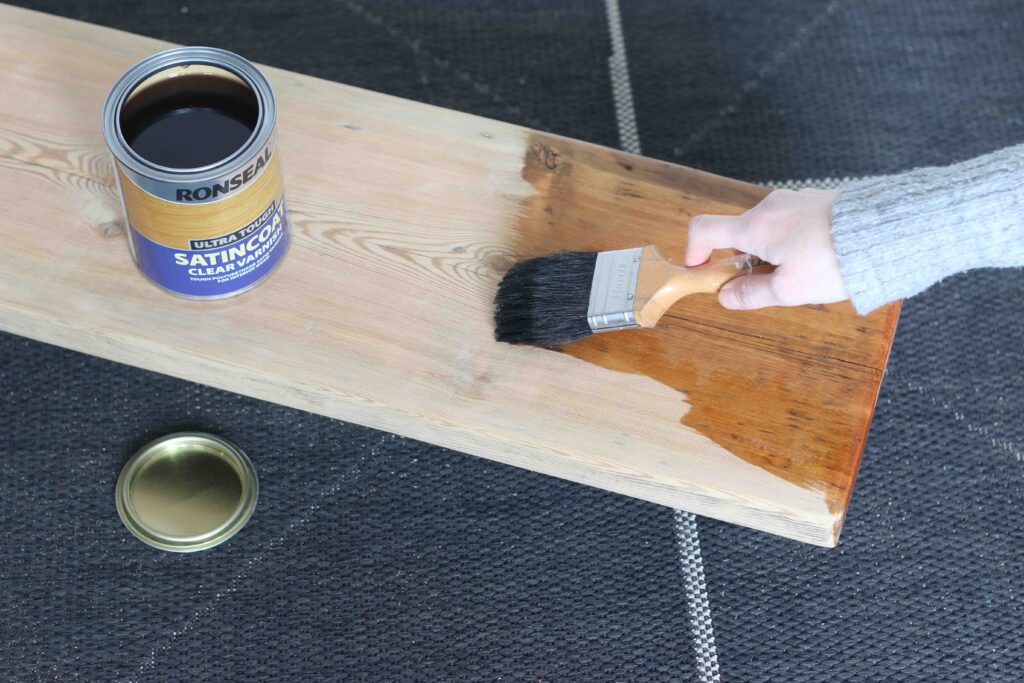
Seal the wood with a coat of clear varnish or you can choose a tinted varnish if you would like to add a stained effect. We used a clear Ronseal Satincoat varnish to let the natural warm colours of the timber shine through. This product is ideal for protecting wood that’s used a lot as it helps to guard against chemicals, water, heat and everyday knocks and scrapes. Alternatively, you could paint the timber for the bench seat with wood paint in the colour of your choice and finish it with a protective layer of clear varnish on top.
Step 6
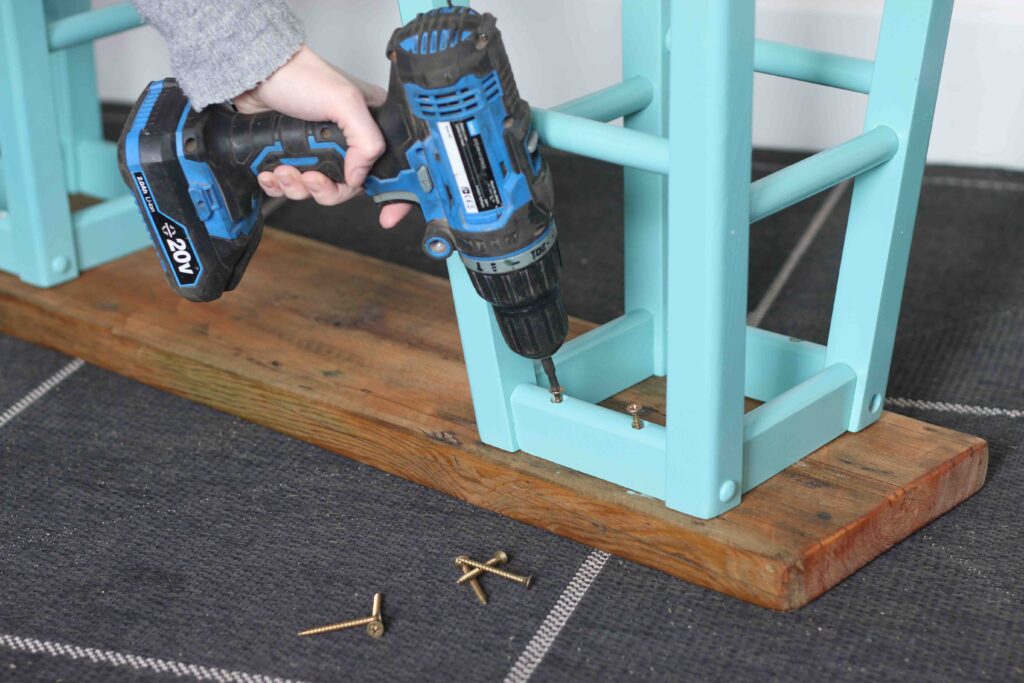
Once the treatments on the bench top and the stool legs are fully dry, you can securely screw the stool bases onto the underside of the bench top. For extra protection and a professional finish, you can add felt pads for furniture to the bottom of the legs to prevent them from scratching your flooring.
And there you have it – a handy new bench for your hallway or porch. If you want to customise this project further, you could use different colours of paint on the legs and top to coordinate with your interior. Or you could completely sand back the legs and top to give the whole bench a natural wood finish.
Extras
For a little extra comfort and style, you can add a seat pad to the top of the bench, or you could prop up a small throw cushion against the hallway wall for a welcoming look.
A quick note on recycling
One of the great things about DIY is that a lot of the products we use are recyclable as they are made from metal. Metal is a permanently available material which means it can be recycled over and over again without loss of quality. For cans, simply make sure they are empty and any residual contents dry before entering them into your home recycling. For aerosol cans, simply remove the plastic cap (and if possible, the nozzle too) but do MAKE SURE your cans are completely empty as otherwise it is dangerous to add them to your household recycling; they should NOT be crushed.
Please take care while using tools, materials and equipment and all projects must be completed at your own risk. We do not take responsibility for any harm or injury that may occur. Be safe!
Project by My Thrifty Life by Cassie Fairy, Photography by Andy Greenacre
Check out How to renovate a metal garage door.


