By Helen, Whitewood and Linen
I have long favoured a chippy aged patina to my home decor preferring its time worn elegance to a more modern look. One item I am frequently on the hunt for when I am out thrifting for the home is an interesting old photo or picture frame. I am usually more taken with the detail of the frame as opposed to its colour since the latter can often be addressed with a tin of paint and some imagination. During a recent visit to a local junk shop I happened upon this somewhat garish gilt picture frame in a box full of tatty pieces. Not particularly old yet with the potential to look so, I snapped it up and took it straight home to the craft room to begin my work.
I love this easy and quick technique to age home décor using nothing more than simple paint and wax. It is a method which can be applied to so many items in the home affording them a new look. Ceramic vases and jugs, pots, bowls even glass objects can all be reinvented with a little paint and imagination. Here is how I used a beautiful chalk paint and dark wax to age my picture frame:
Equipment List
- Picture or photo frame
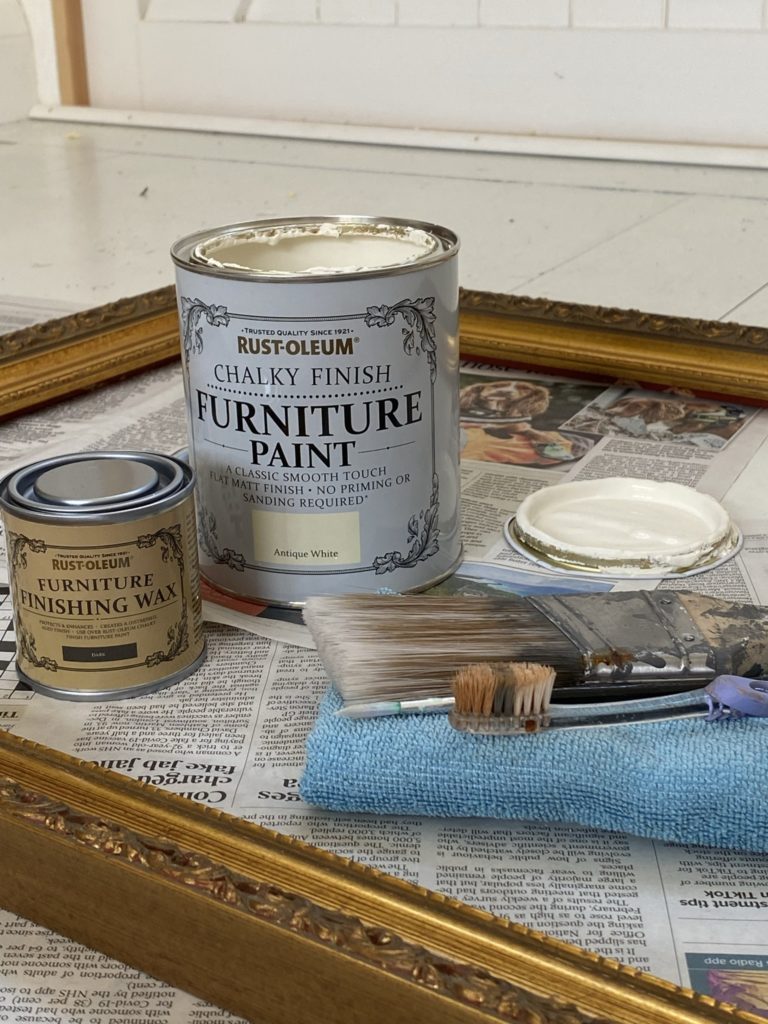
- Paint; I used Rust-Oleum Chalky Finish Furniture Paint in Antique White, 175ml
- Wax; I used Rust-Oleum Furniture Finishing Wax in Dark, 125ml
- Paintbrushes
- Toothbrush
- Old rags
- Soft cloth

Step 1
Begin by ensuring you have a clean picture frame to work with. Wipe clean with a damp cloth if necessary; more challenging marks might benefit from a wipe over with a solution of white spirit.
Step 2
Rust-Oleum’s Chalky Finish Furniture Paint can be applied directly to most surfaces, so go ahead and apply a thin first coat. When this craft is complete, you will still want to see a little of the gilt, so using an old rag or tissue, wipe away a little of the paint whilst it is still wet, in places where time might naturally erase the paintwork. Apply a second thin coat following the same technique. Allow the paint to dry fully.

Step 3
Use the toothbrush to apply the wax to the frame sparingly, highlighting any raised details in particular. You can use a small artist’s paint brush to get right into any tiny holes if needed. I’ve used Rust-Oleum’s Furniture Finishing Wax in a great many craft projects in the past and know a little product goes a long way plus it stores well in its metal packaging so it should be around in your craft room for many future craft projects to come.

Step 4
Allow the wax to air dry thoroughly and using a soft cloth, gently buff all over your picture frame blending in the wax as you go. You’ll notice a subtle sheen begin to appear on your frame.
Top Tip: If you apply too much wax for your liking to your picture frame, you can always remove it by using a small amount of white spirit on an old rag. Very gently wipe off the wax from the frame before reapplying a lighter coat.

Step 5
Time to get creative with your home decor. Painted frames look wonderful grouped together and layered against a patterned wall. Placed alone against a plain wall, you could try adding a vase of colourful flowers or perhaps an unframed photograph tucked just inside a corner of the empty picture frame itself. Grand, empty frames look particularly striking standing on a wooden or tiled floor simply leaning against their backdrop. Another favourite way of mine to use an empty frame is to place a smaller, framed painting inside the empty frame itself. Double framing the single pretty painting if you like.
Since the purpose of my painted frame is to light up a dark corner of a sitting room, I’ve added warm fairy lights and a candle and simply tied a few stems of dried Ammi with string to the frame itself. A few tonal books complete the calm look I am after.
So, how will you use your painted frame I wonder? I look forward to seeing your ideas and don’t forget to tag us with #doitwithcans on social media!


