By Helen, Whitewood and Linen
I recently came across a variety of wonderful French wine boxes each crying out for reinvention. I spent a happy while imagining a number of possibilities for the particular box I am using today. Ranging from fireside kindling storage to a custom-made sewing box or maybe even a magazine rack-cum-filing system in an attempt to tidy my ever-growing collection. Eventually, my choice for today’s tutorial became a beautiful garden planter to sit alongside my new front door offering a pretty floral welcome to friends and family. I decided this wooden box might work a treat for such a project.
This really is a simple craft and not too many materials are needed to make the magic happen however if your wooden box is to be exposed to the elements like mine, it will need protecting. Rustins Outdoor Clear Varnish is just the product for offering protection against the weather I was looking for. This water-based varnish comes in a variety of finishes. I opted for the clear satin since I wanted the illustrative detail and writing on the wooden box to stand out and not the varnish itself. I used the 250ml size which is more than enough for this project and since the product comes in a tin, I am able to store it away in my shed until I next need an outdoor varnish for another craft.
I gathered together all I would need:
Equipment List
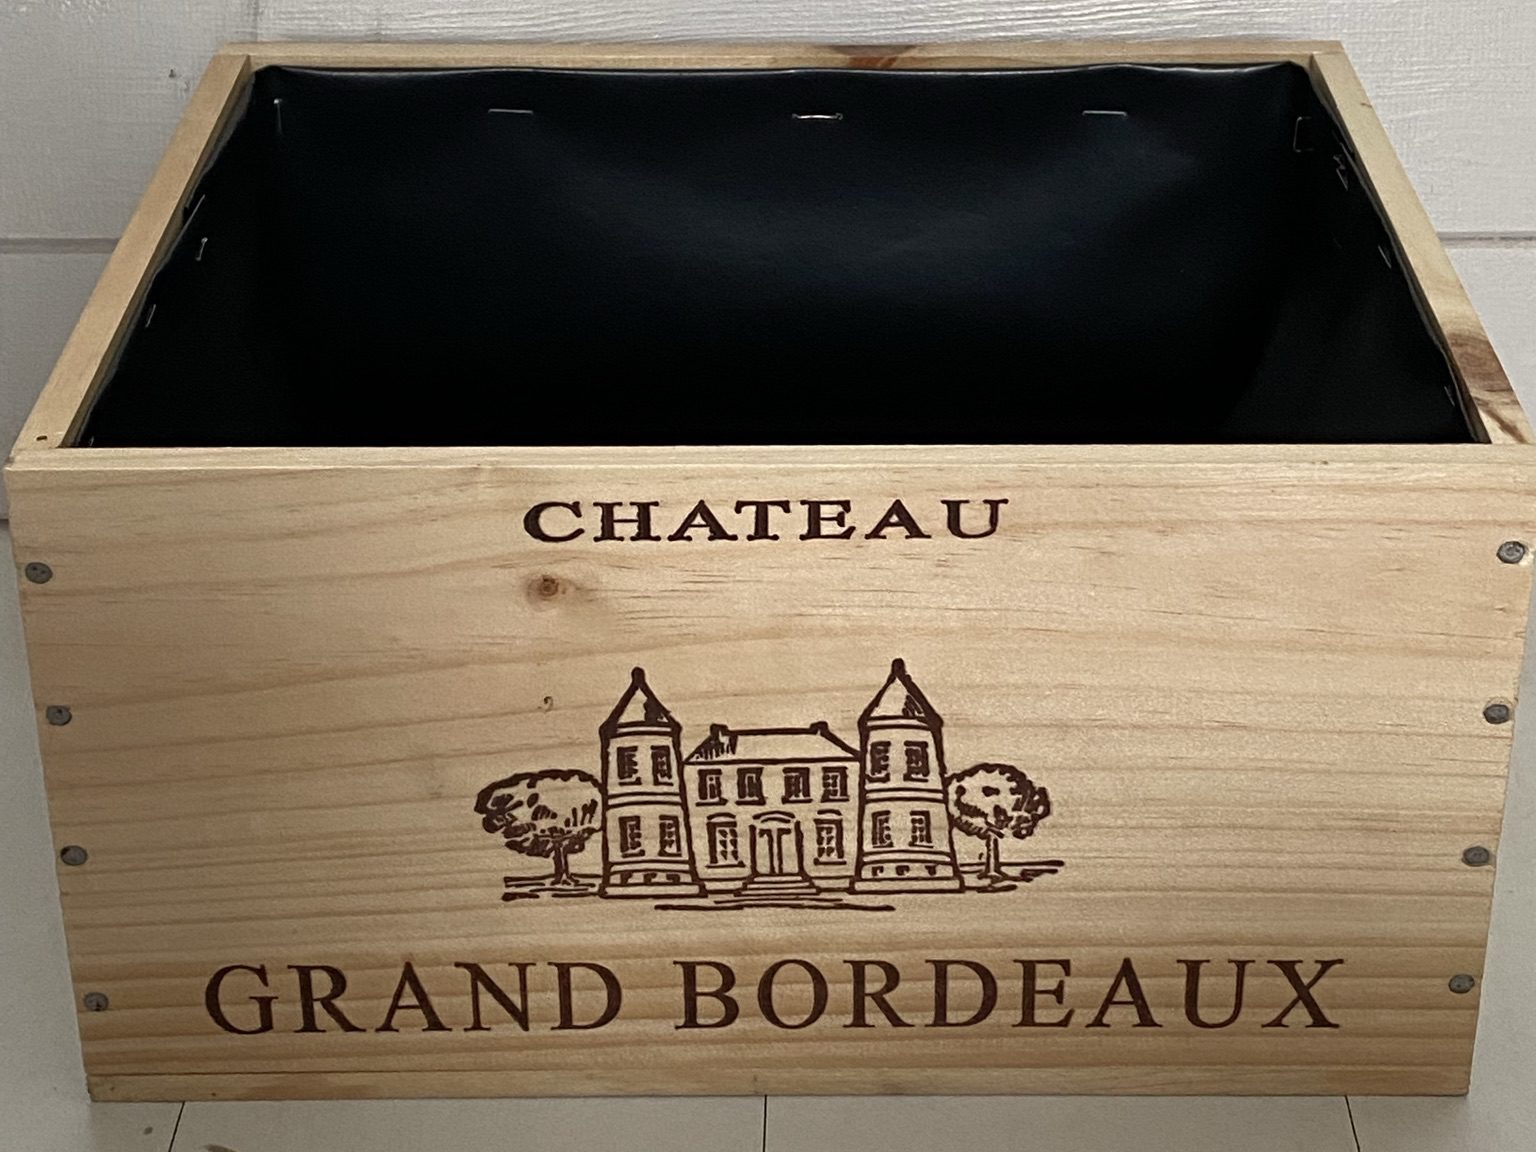
- Wooden wine box
- Waterproof lining – optional
- Rustins Outdoor Clear Varnish, size 250ml
- Small garden plants
- Compost
- Shingle or similar for drainage
- Cotton rag
- Stapler – optional
- Drill
Step 1
To begin, ensure there are no rough edges to your wooden box and if there are, a light rub with sandpaper should remove them.

Step 2
Drill holes for drainage in the base of the box at regular spots like mine shown in the photograph.

Step 3
Go ahead and apply your first coat of varnish to the box working with the grain of the wood and allow the varnish to dry thoroughly. Drying time is approximately two hours although it is suggested to allow four hours between coats so a little patience here is required. I applied four thin coats which is recommended for maximum protection. Don’t forget to protect the inside of the box in the same way.
Step 4
I chose to add a further layer of protection to the inside of my box using a waterproof membrane simply because I already had some in my shed. This stage is not entirely necessary if you have coated with ample protection inside the wooden box. I applied staples at regular intervals around the top of the membrane to hold in place, working neatly since the fixings may show once the craft is complete. Once secure, I added further water drainage holes, simply by snipping sporadically around the base of the lining.
Step 5
Next add a layer of shingle, tiny stones or even small pieces of broken garden pots if you have them to help with water drainage and then fill your wooden box to approximately three quarters of the way with good draining potting compost. Add your plants and top up with more compost, although not right to the top of the box since you won’t want the compost to spill over when you water your plants.
I have recently discovered white lavender and thought this might look particularly pretty against our new green door next summer. Both the bees and I shall look forward to that time and until then, we should be afforded the delight of rich scented stems to carry us through. Of course, like all good crafts this one is endlessly open to your imagination. You don’t have to discover a batch of French wine boxes in order to create an outdoor planter. Charity shops and markets will often have something similar you could use, just remember to add Rutstins Outdoor Varnish to ensure your items longevity. I think a herb planter might make a wonderful house warming gift and spring daffodils couldn’t help but make your visitors smile. So, what will you fill your wooden box with I wonder? We would love to see! Do tag us in your social media with #doitwithcans


