By Sam of Dove Cottage
Looking to update a piece of furniture, but don’t want to buy something new? Why not give your existing furniture a new lease of life through upcycling? I’ve been a huge fan of upcycling for a few years now, and it’s my favourite way to update something on a tight budget. You’ll be surprised at how easy the process is, and the difference you can make to almost anything – regardless of the material it’s made of, or the state it’s in. Not only that, but I find upcycling really relaxing and therapeutic too.

For upcycling, you will need:
Piece of furniture
Rust-Oleum Chalk Effect Furniture Paint – I’ve used shades ‘Homespun’, ‘Antique White’, and ‘Lemon Jelly’
Rust-Oleum Furniture Lacquer in a clear matt finish
Damp cloth
Masking tape
Mini-roller
Paintbrushes in various sizes
Sandpaper in a fine grit
Pencil
Dust sheet to protect surfaces

For this project I’m tackling a small pine side table. I rescued this from my parents’ garage a few years ago and gave it a mini makeover back then. It’s been stored in our shed for the past few months and was in desperate need of some TLC. It wasn’t looking its best at all! I had originally painted it a simple white, however I’ve decided to go for something a bit different this time, choosing a beautiful soft pink shade of Rust-Oleum Furniture Paint, which will be perfect for my daughter’s bedroom. I’ve also chosen to add some additional interest with some hand painted flowers.
How to upcycle your piece of furniture
Step 1
Start by cleaning your furniture using a damp cloth, so it is clean and grease-free. Do not be tempted to skip this step or your paint will not stick to the wood as well. This stage is particularly important if your piece has been in storage for a while, like mine! Make sure it is completely dry before moving on.
Step 2
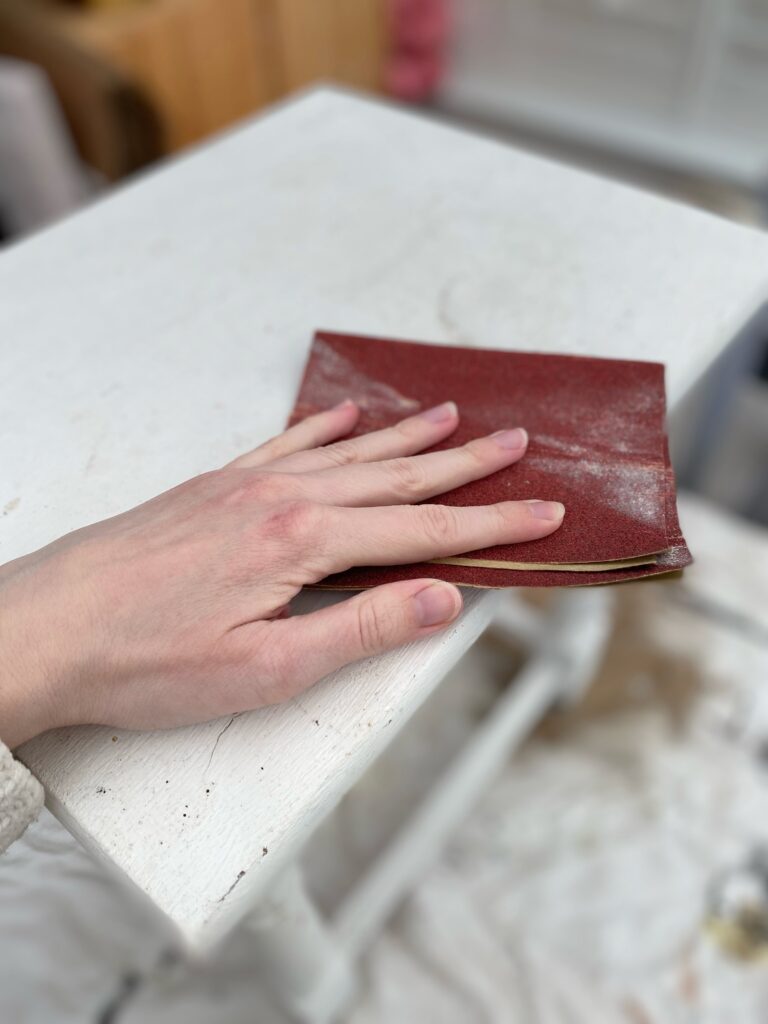
The beauty of Rust-Oleum Furniture Paint is there’s no need for any preparation or priming – even if your piece is varnished or lacquered. However, if it is already painted, or if you have any uneven surfaces, then it is a good idea to give it a light sand using sandpaper at this stage.
Don’t forget to protect the surface you are working on with a dust sheet, to avoid any spillages or paint drips.
Step 3
You are now ready to start painting! This paint is really thick and goes on smoothly, so apply carefully using a mini-roller to avoid brush strokes. If your table has shaped legs like mine, you’ll also want to use a small paintbrush to make sure you’re covering all the fiddly bits.

Step 4
After your first coat leave to dry for an hour, and then apply another coat. If your furniture is a particularly dark shade, you might need to apply a third.

Step 5
Now to add a hand-painted feature on top. I have gone for some simple daisies to compliment my daughter’s bedroom. I started by sketching an outline using pencil, however you could use a stencil or template if you prefer. Once I was happy with how they looked, I used a small artists’ paintbrush to fill the flowers in. I’ve used two different shades of Rust-Oleum Furniture Paint to do this – white and a beautiful yellow.

The good thing about chalk paint is, should you make a mistake you can simply give the area a light sand and repaint over the top – so be as creative as you like! You could even use masking tape to form different geometrical shapes and patterns, for example.

Step 6
Once your table is fully dry, apply some Rust-Oleum Furniture Lacquer to seal your hard work, and to avoid chipping. To do this, simply apply liberally with a paint brush. Fully cover all over the table, wiping away any drips as you go, before they dry.
The lacquer goes on and dries clear. It will take about four hours to dry, after which you will be able to start using your beautiful new piece of furniture straight away.

You are all done! A really simple way to transform any piece of furniture, and I absolutely love the effect with the hand-painted top. If you’re anything like me, you’ll have been bitten by the upcycling bug and will now be taking a paintbrush to any furniture you can get your hands on!


