I always use paint that comes in metal cans, not only because metal is easily recyclable, meaning the packaging can be recycled and avoid landfill, but also because you can reuse the can to create something useful and beautiful for your own home. Cleaned out paint cans are great for storing paintbrushes or as makeshift flower vases. I even fill them with napkins and cutlery at picnics or you can turn them into portable lamps.
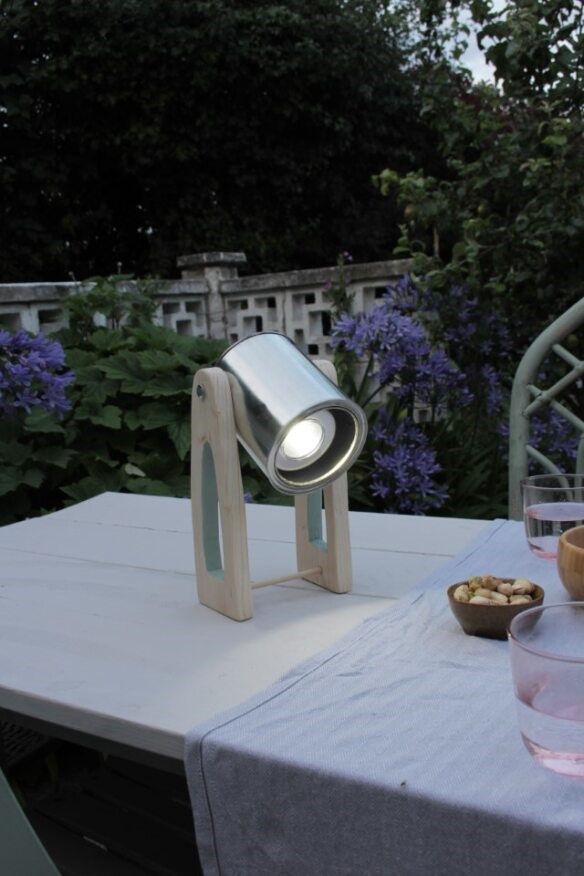
You could just chuck a tealight into a tin can and call it a day, but I want to show you that with a small piece of reclaimed timber and an hour of your time you can make a lovely looking table lamp for use both indoors and outdoors.
You will need:
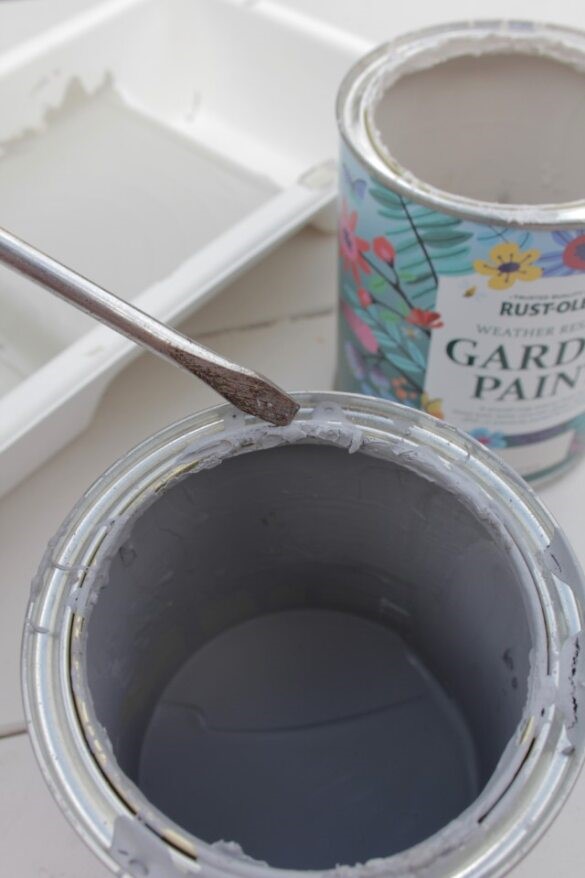
- a paint can, mine is an empty Rust-Oleum garden paint one
- push light (I prefer a USB light but you could go battery operated too)
- drill
- jigsaw
- piece of timber, a flat piece for the legs and a square piece for inside the lamp
- sandpaper
- nuts and bolts, I used 2 x 6mm bolts with 2 x washers and 2 x nuts
- small wooden dowel/rod, mine is 6mm in diameter
- 1 x wood screw
- wood glue
- paint and brush optional
Steps
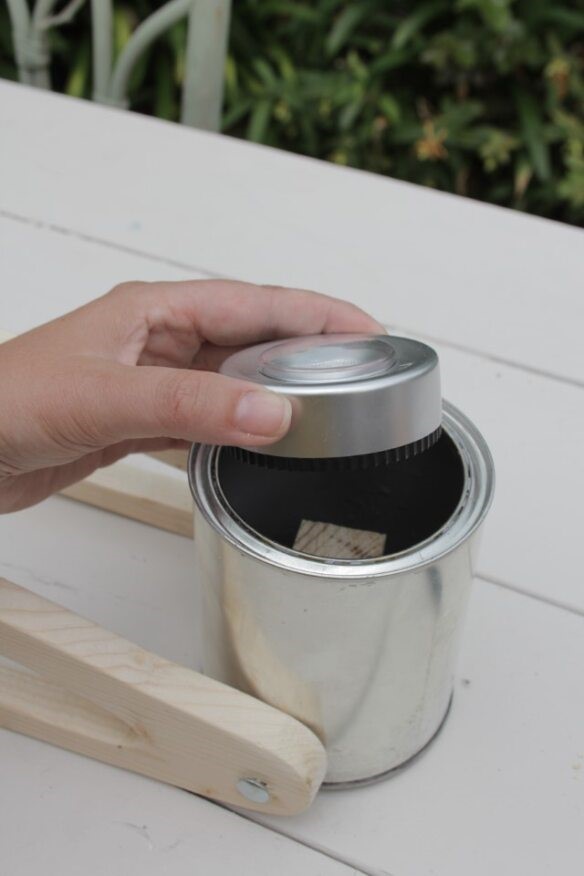
- If your paint can is not completely empty the best way to get all the paint out is with a silicone spatula/scraper, like the one you normally use for cooking. You can paint any residue onto old newspaper as well. You can also just put your tin upside down on a paint tray and let it drip out.
- You are bound to have some dried-up paint on the rim and maybe on the outside of the tin. Use a screwdriver or an old dinner knife to scrape the paint off.
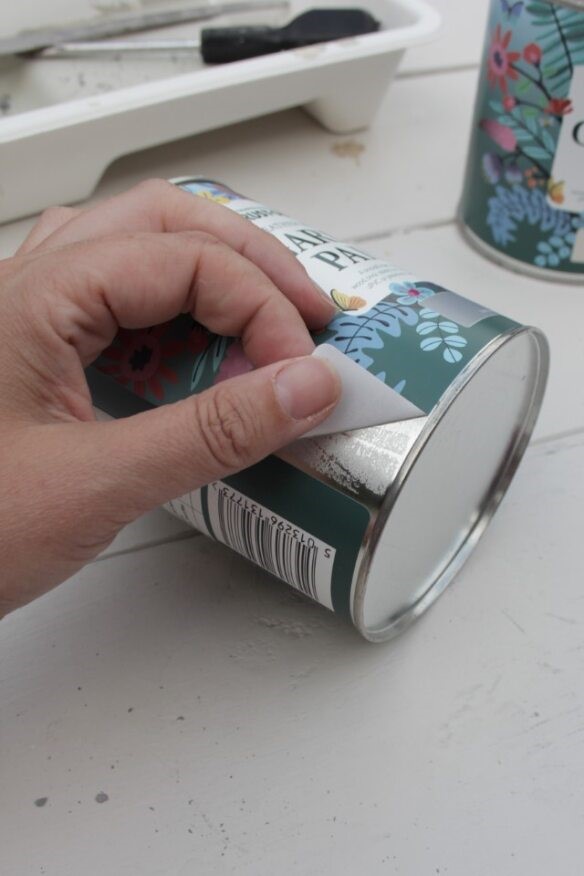
- Take the label off your paint can.
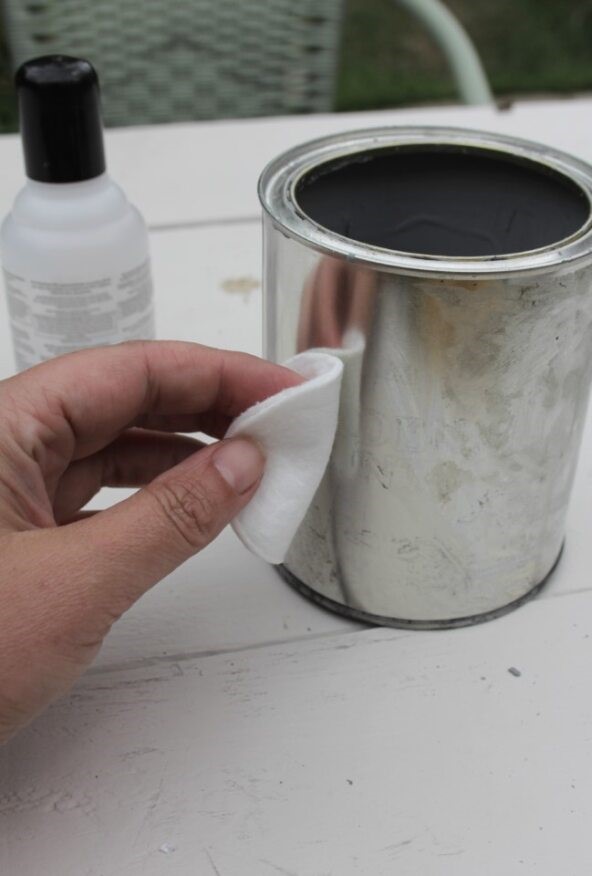
- If the label has left a lot of sticky residue, the best way to clean this off is with nail polish remover. Use one that has acetone. I like using the extra strong remover that is made for gel nails.
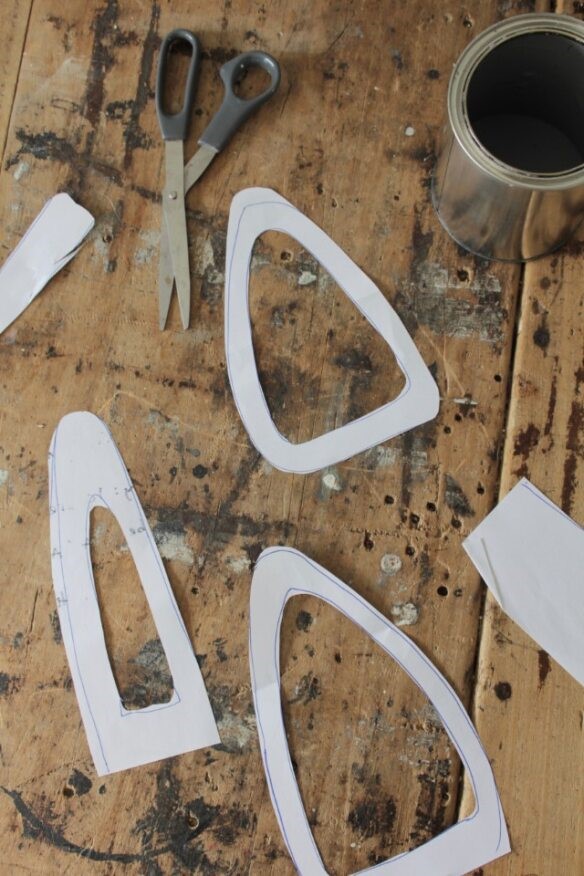
- On a piece of paper draw the stand you would like to give your lamp. I wanted to go with an organic shape, i.e. with curved lines, but you could go more straight-angled too. As you can see, I tried a few stands out and opted for the skinnier, taller one. My stand is 22cm tall and 8cm wide. You need two stands to make this lamp.
- Trace your paper shape on your piece of wood. I used a scrap piece of pine I had in my shed and cut the standout with a jigsaw. It’s best to cut the inner piece out first before you cut the stand itself out. (Tip: drill a hole in the middle so you can stick your jigsaw blade in).
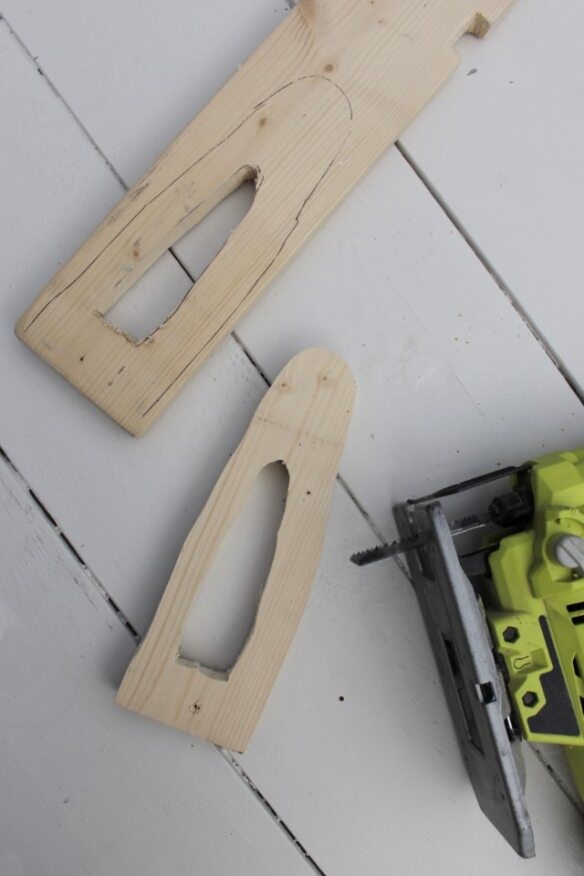
- Sand the wood so it’s smooth (I wanted my lamp stand to have rounded corners and feel very smooth to the touch.)
- Drill a hole in the top of your two stand pieces, 2.5cm from the top. I used 6mm bolts, so I drilled a 6mm wide hole. Also, drill a hole in the bottom of the stand – you want this hole to not go completely through the stand though. Make sure you stop halfway. This hole needs to be the diameter of the rod/dowel you are going to use.
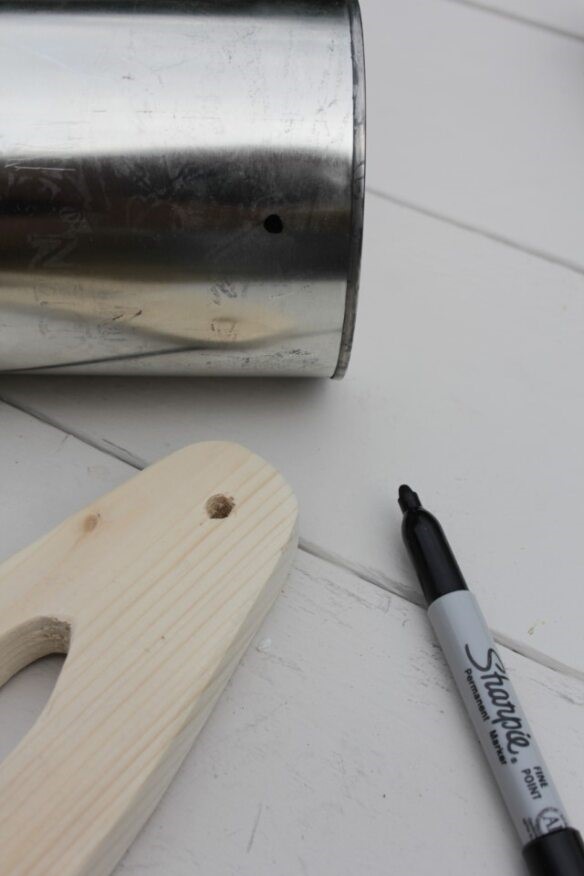
- On your tin mark where your stand is going to go. Do this 2cm from the bottom and a little bit below the middle of the tin.
- Drill the first hole, making it the same size as your bolt diameter, in my case 6mm.
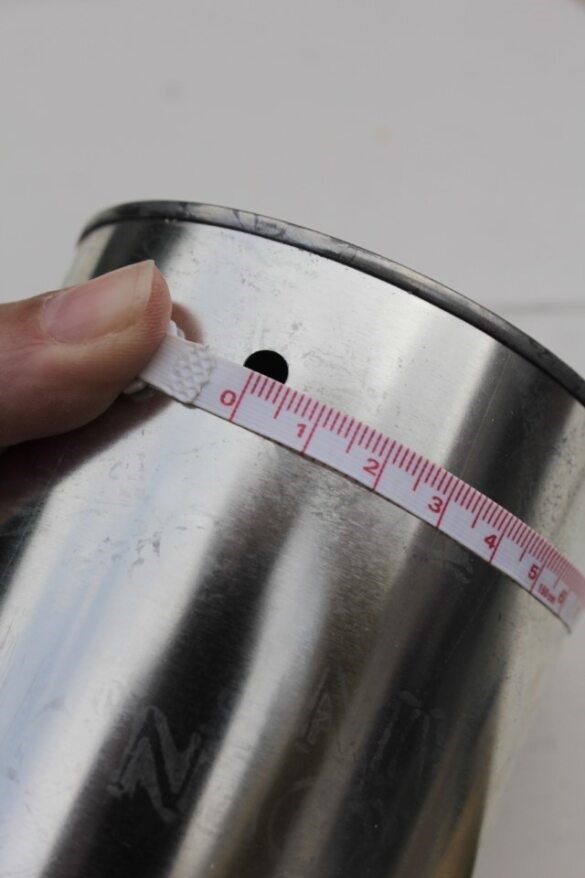
- To work out where the exact opposite of the hole is, measure the diameter of your tin. Divide this by two and now you know where your second hole needs to go. Mark with a sharpie and drill.
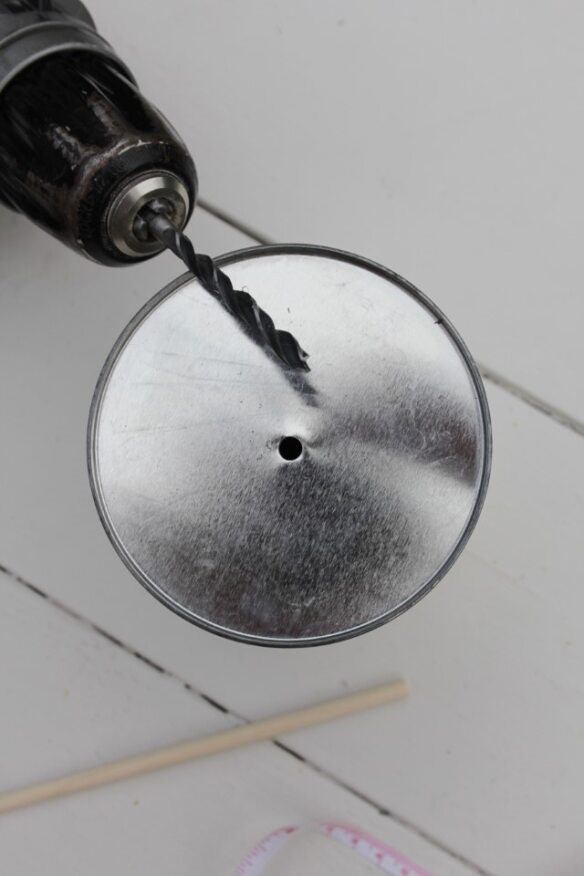
- Now you must drill a hole in the middle of the bottom of your tin.
- Attach the stand to the tin. The bolt goes through the stand, through the tin, then add a washer and then the bolt. Tighten but leave a tiny bit of wiggle room so you can angle the lamp.
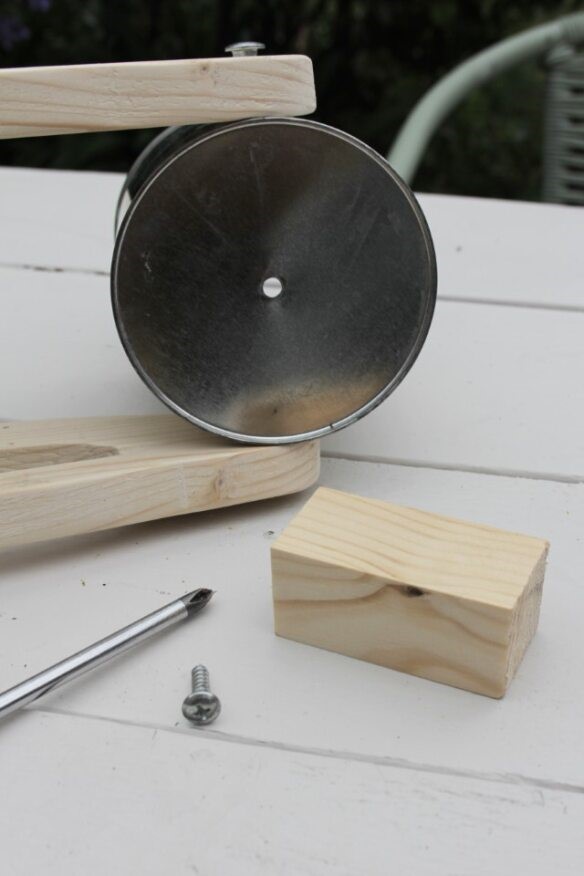
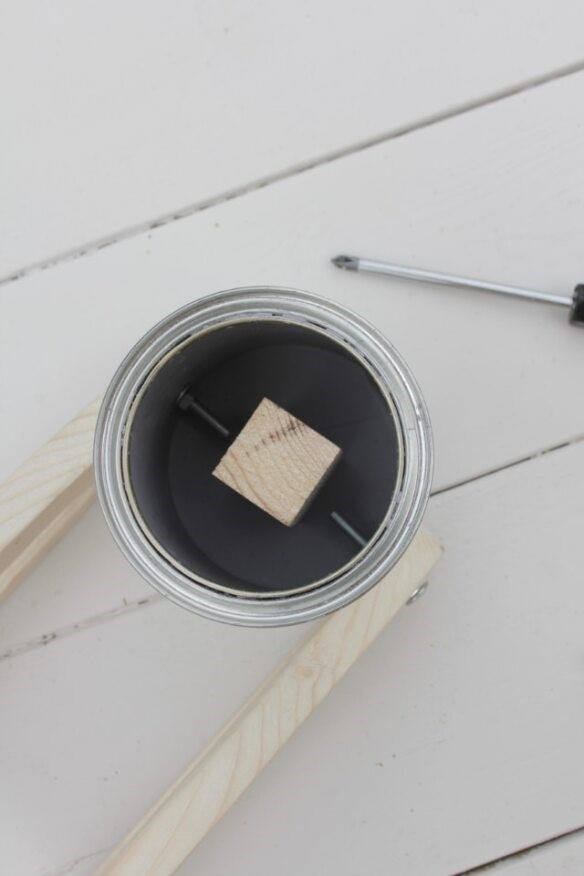
- Cut a piece of square timber, this is to attach your light on so it’s not too far inside the lamp. I used a square piece 4cm wide and 8cm long. Align the piece with the hole you made in the bottom of the tin and screw in place.
- Measure the distance between your stands – it should be the diameter of your tin. Cut a piece of dowel to this measurement plus 1 cm.
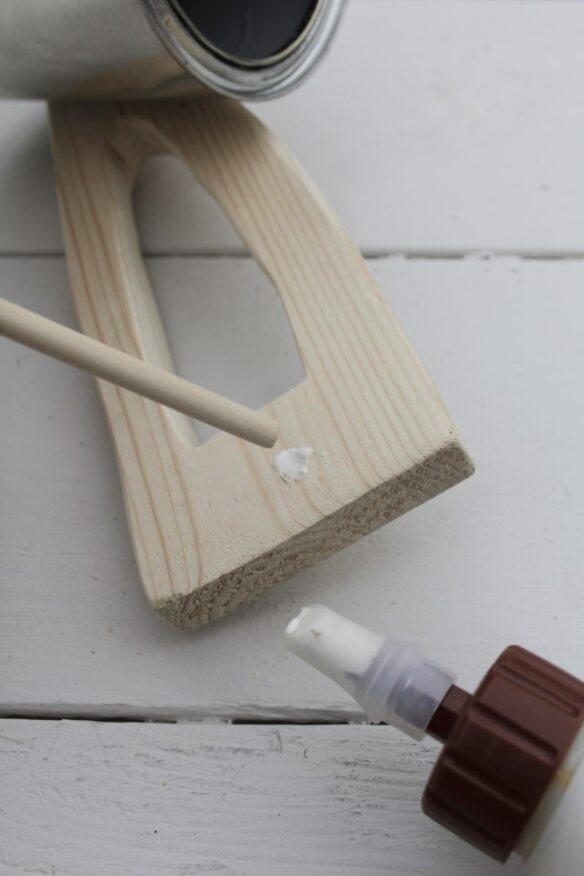
- Glue the rod in place in the holes you drilled in the bottom of the stand. This is to give the lamp more stability.
- Attach your light to the inside of your tin. Mine had a self-adhesive backing that I stuck on the square piece of timber. Some lights have little magnets that you use to stick it in place. Make sure the lamp is securely in place.
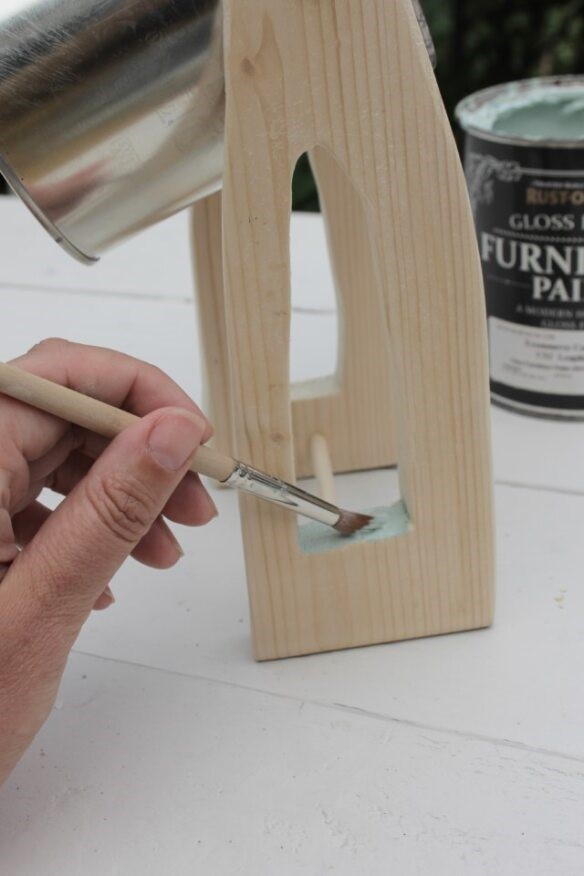
- If you would like to add a bit of colour to the inside of your lamp frame, go for it! I gave mine a pop of green with Rust-Oleum Gloss Furniture Paint in ‘Leaplish’.
You can use these steps to make all different kinds of lamps. For instance, you could use a bigger paint can and make longer and wider stands for a taller light. Or go the opposite way and turn a tester tin into a tiny lamp. Just make sure you can find a USB light with the right diameter, so it fits in the tin.
When your lamp needs charging you can easily take the USB light out of the lampshade and stick it back in when it has recharged.
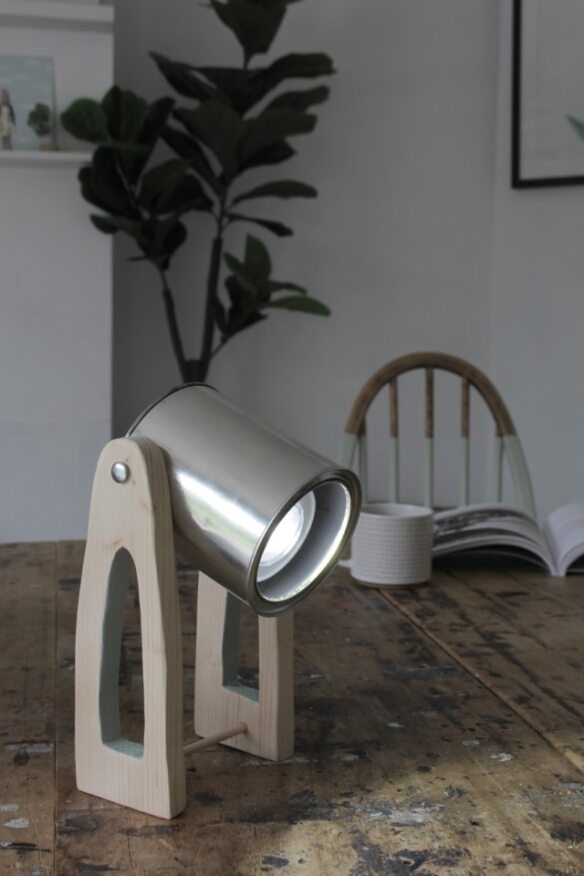
What I like most about this lamp is that it doesn’t need to be plugged in, meaning you can use it outside as well. For example, on a warm summer’s night when you want to finish reading your book or on darker autumn evenings outdoors with your friends.
Just make sure you bring the lamp inside when rain is forecast!
I might make a few more paint can lamps to use on my terrace! Are you going to make one too?
www.instagram.com/hestershandmadehome
Check out how to do a ‘Porch makeover with Lick paint’.


