Nigel Higgins – DIY Daddy
If you have a family, you will know that children have busy school and social lives. In our family home I’ve found that the answer to keeping tabs on multiple schedules is to use a chalkboard.

Intro – what you need to make a chalkboard
A chalkboard also serves as a great space for children to doodle, as it’s easy to wipe clean and start again.
Here, I’m going to show you how you can make your own chalkboard from scratch.
Rustoleum chalkboard paint is ideal for this tutorial and comes in a handy metal can, allowing DIYers to keep any leftover paint for future projects. Or if you use all the paint in one go, you can easily recycle the empty metal paint can.
You will need:
- 1 sheet of MDF 6mm thick
- 1x 750ml tin of Rustoleum chalkboard paint
- 320 grade sandpaper
- Saw
- Safety goggles and face mask
- Drill with wood drill piece
- 1.5-inch bristle paintbrush
- Tape measure
- 3-metre level
- Pencil
Now you have all the materials and equipment to make your chalkboard, let’s get on with the tutorial.
Step 1 – for how to make a chalkboard
Firstly, you’ll need to decide what size you want your chalkboard. For the purpose of this tutorial, I have decided on 20 inches wide by 15 inches high.
Measure out the size on the MDF and draw the outlines using a level. Saw along the pencil lines to create the chalkboard base.
Step 2
The next step is to decide how you’re going to hang your chalkboard. I will be hanging my chalkboard via a screw in a wall, so I want to drill a hole in the middle of the chalkboard about half an inch from the top.

Step 3
Sand the edges of your chalkboard with 320 grade sandpaper to remove any rough areas and use a lint free cloth to wipe clean any loose dust. This step will ensure you have a smooth painted surface.

Step 4
Now we are ready to paint! Using your 1.5-inch paintbrush, apply Rustoleum’s chalkboard paint in even strokes and always moving in the same direction.

The chalkboard will require at least two coats of paint. I have applied three coats of Rustoleum chalkboard paint, allowing two hours between each coat to dry.

Tip: before applying the final coat sand the surface again with 320 grade sandpaper as this will give a smooth finish.

Step 5
Finally, you need to decorate your chalkboard.
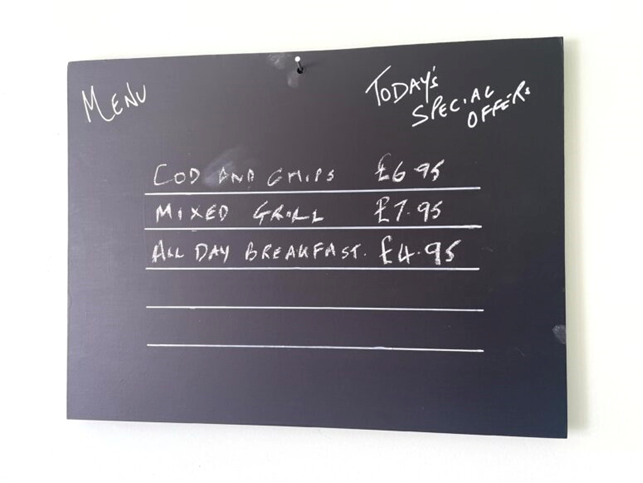
I’ve decided to turn my chalkboard into a weekly planner using a permanent acrylic white pen or a liquid chalk pen. To get the lines perfectly straight measure on both sides to join up with a ruler. You could also use this method to create a chalkboard for a shop, café or restaurant. Just get creative!

Check out other blogs from Nigel Higgins – DIY Daddy here.


